You can add custom terms to any set of template terms at any time. These terms allow you to customize and define your relationship with partners without using other software or signing additional contracts outside impact.com. Instead, you can copy them (or upload a PDF) into your template term and sign partners using the impact.com platform.
Custom terms supplement the impact.com Master Campaign Agreement that all advertisers and partners agree to. Once they're included in a template term that partners agree to, they're agreeing to your custom terms.
From the left navigation menu, select
[Engage] → Contracts → Custom Terms.
In the upper-right corner, select Create Custom Terms. Refer to the definitions below for help.
Name: Enter a unique and descriptive name for your custom terms that will appear in the custom terms list. Partners won't see this name.
Type: Select a type that best categorizes your custom terms. If nothing seems to match, you can leave them as General Terms.
Input: Select the input method.
Text prompts you with a WYSIWYG textbox to enter your modified custom terms.
PDF prompts you with a Choose File button to upload your modified custom terms in PDF format
Select Save.
Partners are notified via email when custom terms are added to a contract they have signed, or if you modify custom terms on an existing contract.
From the left navigation menu, select
[Engage] → Contracts → Template Terms.
In the upper-right corner, select Create Template Term.
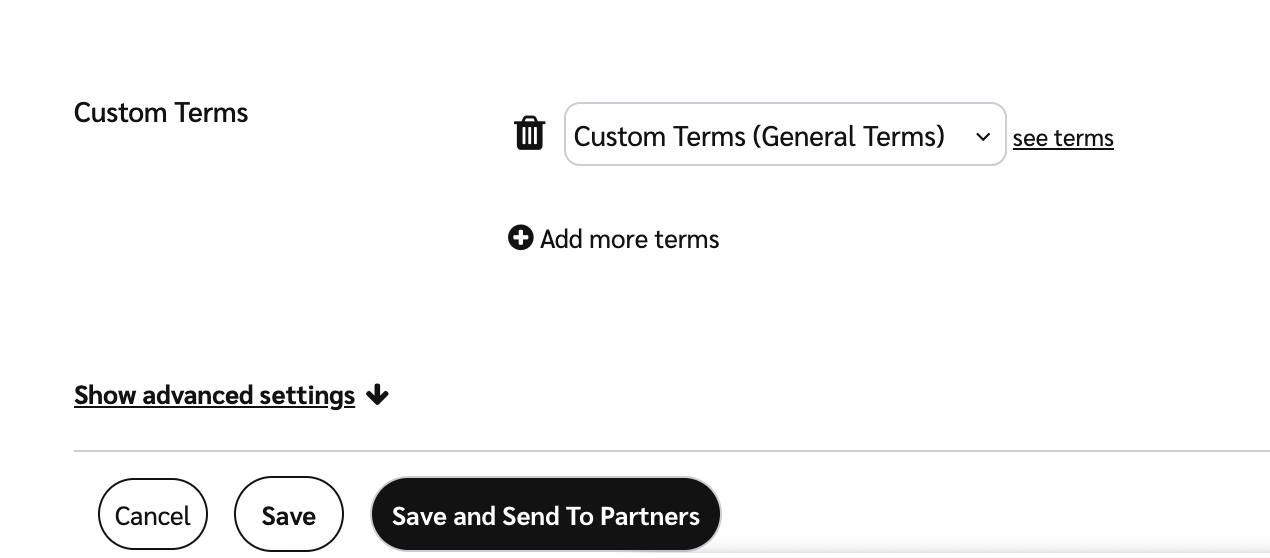
Scroll down to Custom Terms, and select your saved custom terms from the
[Drop-down menu]. Select
[Add] Add more terms to attach additional custom terms.
Complete the rest of your template terms and select Save.

From the left navigation menu, select
[Engage] → Contracts → Template Terms.
Find the template term to which you want to add custom terms, hover over the row and select
[More] → Modify Terms.
Scroll down to Custom Terms and select your saved custom terms from the drop-down list.
Select
[Add] Add more terms to attach additional custom terms to your template terms.
If you don't have any active partners on the template term, select Save to complete the process.
If you have active partners currently on the template terms you're modifying, select Next and continue to the next step.
Warning: When you modify existing Custom Terms, any of your Template Terms that include these terms will be updated, and your partners will be notified of the change. Custom terms not on active template terms can be modified without updating template terms.
From the left navigation menu, select
[Engage] → Contracts → Custom Terms.
Find the custom term which you want to modify, hover over the row and select
[More] → Modify.
Use the fields to make your changes:
Name: If you want to change the name of your custom terms, enter a new name here.
Type: This field shows you the type originally selected for these terms. In most cases, the type cannot be changed.
Input: Determine the input method for your custom term modifications.
Text prompts you with a WYSIWYG textbox to enter your modified custom terms.
PDF prompts you with a Choose File button to upload your modified custom terms in PDF format
Content: Use the text editor or the upload button to add your modified custom terms.
Select Continue.
Use the fields to modify template terms that use these modified custom terms:
Template Term: Select View Template Terms to see a list of your template terms that use these custom terms.
Partners: Select View Partners to see a list of your partners that are on template terms that use these custom terms.
Modification Start Date: Select
[Radio button] Earliest available date to respect your template term(s) notice period and switch over to your modified custom terms as soon as possible. Note that with this option, some of your template terms may switch over before others. Select
[Radio button] Fixed date to force all template terms to switch over to your modified custom terms on a specific date.
Early Start: Allows partners to accept your modified custom terms early instead of waiting until their template term updates itself.
Comments: Leave a comment that describes what changes were made. This will be sent via email to partners who have email notifications enabled.
Select Submit.