Limited: Some features are only available to certain editions. Contact support to upgrade your advocate program and get access!
[Optional] Specify your referral landing page
The landing page is where referred friends will be directed when they click on an advocate’s share link. We recommend using a purchase page or sign-up form that has been customized for your referral program. You can set a Landing page URL when setting up a program.
in the left navigation menu, select
[Engage] → Program Rules.
Under the Landing page section, select
[Edit].
Enter the Main URL of the page referred friends are sent to when they click a customer advocate's share link.
Optionally, set up your Advanced settings.
Provide a Fallback URL. This is where referred friends will be sent should the landing page not load.
Change the Cookie Expiry date. This is the amount of time the cookie stays valid for after a shared link has been clicked.
Important: To help capture referrals when a user clicks away and returns later, our platform allows for a long cookie duration (e.g., up to 12 months). However, we cannot guarantee the cookie will last for the full duration you set.
Several external factors can override this setting:
User Actions: The referral won't be tracked if a user manually clears their cookies or if their browser is set up to automatically clear cookies.
Browser Policies: Stricter limits from browsers like Safari (e.g., 7-day expiry).
Your Website's Policy: Your site's own shorter cookie duration or policy can also override this setting.
Select Save.
This page can be configured to track participants and add them to your program. Learn more about configuring your landing page for referral tracking.

A rule is the desired participant behavior — what you want them to do. The rules you set will depend on your program and the outcomes you want to drive. Rules can be set for advocates, their referred friends, or both. At least one conversion rule is required for your program.
Once you’ve completed the checklist and have your program live, select Add Rule.
Select a rule trigger. We recommend Friend performs an action for your first rule.
Select if the rule only triggers the first time it happens.
Select whether to convert the referral once the rule triggers.
Optionally, choose your Advanced Settings if needed. This includes reward limits and conditions.
Once done, select Next at the bottom to move to the next stage.
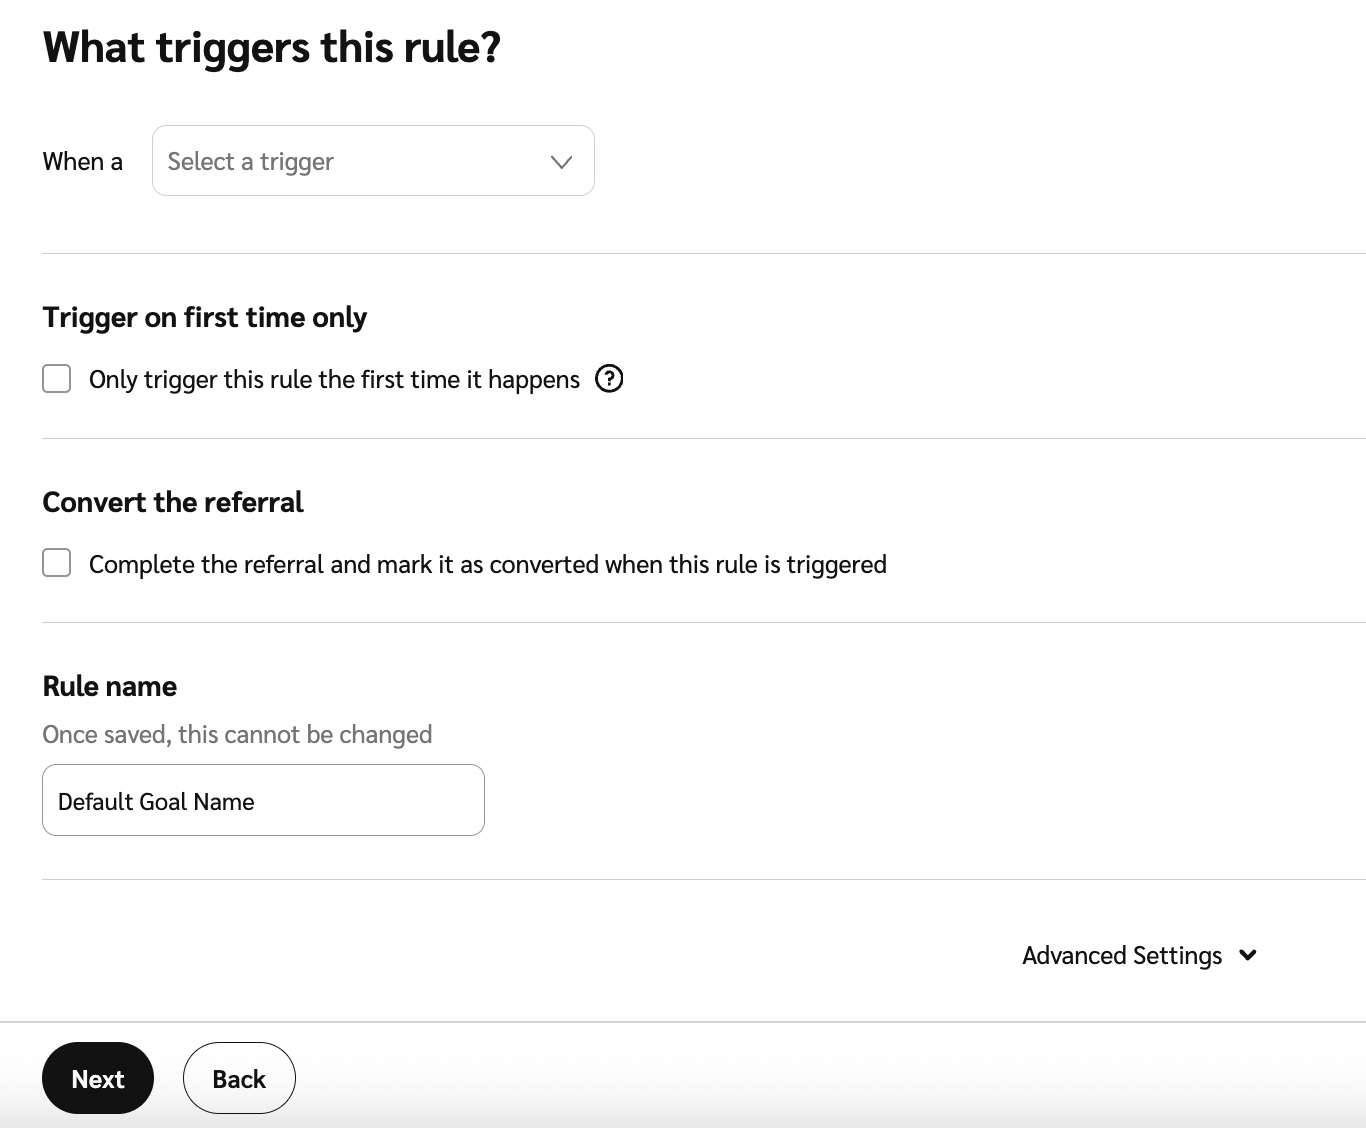
Next, create an action for this rule.
Actions are tied to specific rules. When the participant achieves a rule, an action (like issuing a reward) is triggered.
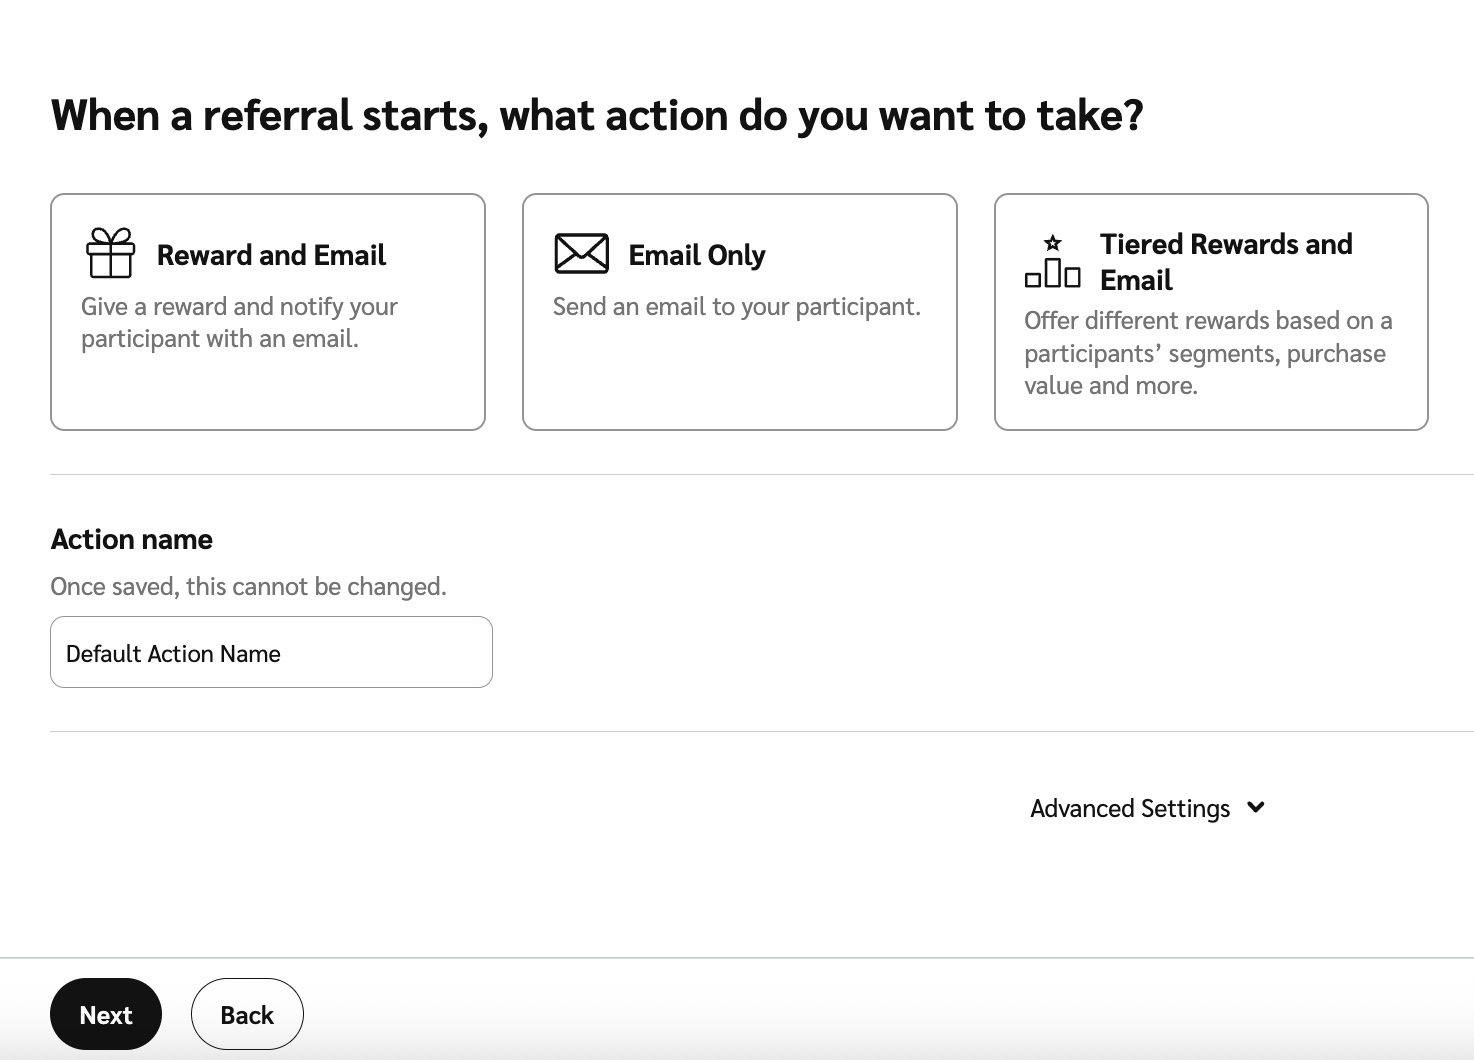
Select what action you want to take once a referral starts.
Sending a reward and email or an email only to the customer advocate or referred friend.
Issuing a tiered reward and email with a varying value.
Select who the action applies to: the advocate or the friend.
Name the action.
Optionally, choose your Advanced settings. This includes a first-time-only trigger and conditions.
Once done, select Next at the bottom to move to the next stage.
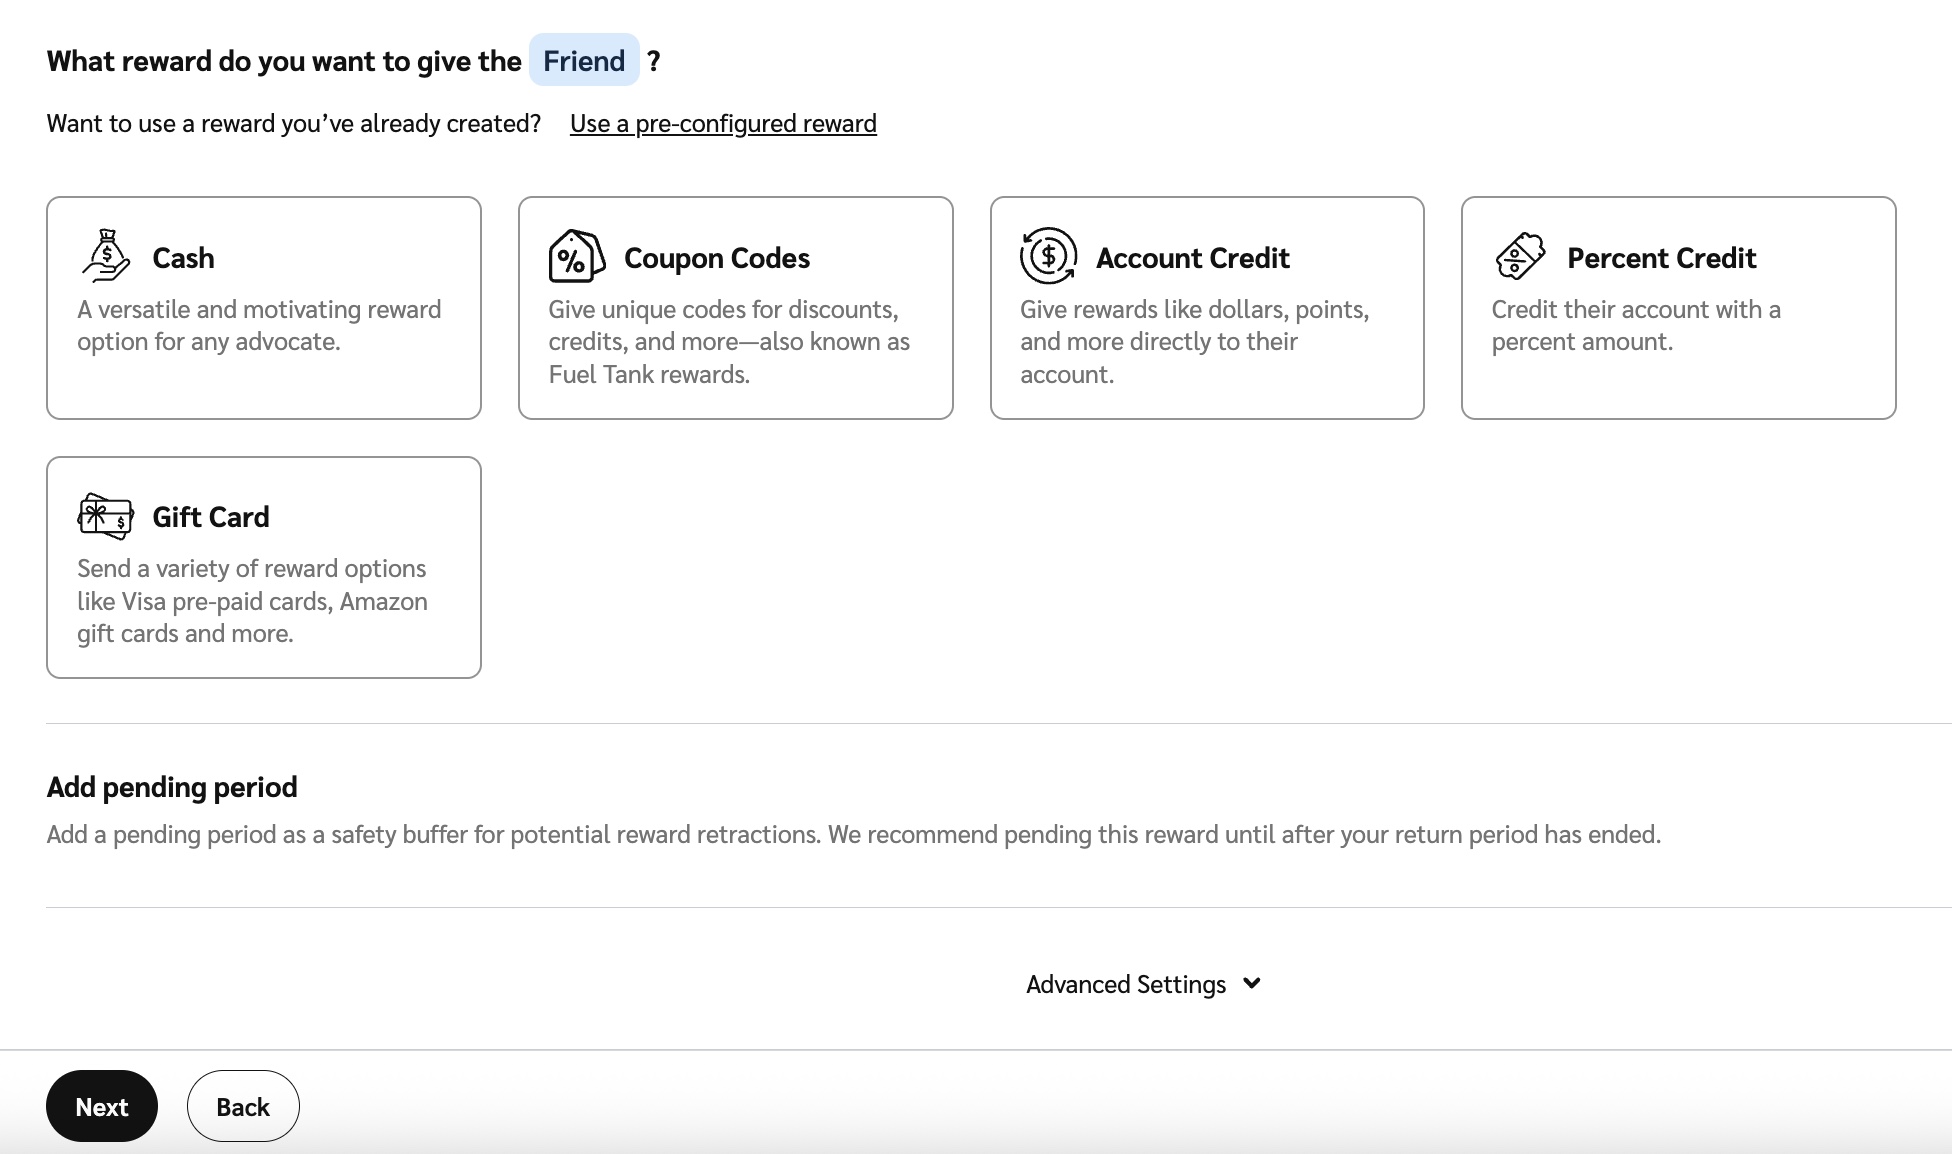
Rewards are how you can incentivize your advocates and their referred friends to engage with your program. The best reward type for you will depend on your industry, audience, and business model.
Select the reward you’d like to give your referred advocate or friend.
You can select Use a pre-configured reward if you already have rewards set up.

Select your reward type and value depending on the reward you selected.
See the Program Reward Options Explained article to learn more about the reward types on offer.
Optionally,
[Toggle on] Add pending period as a safety buffer for potential reward retractions.
Optionally, choose your Advanced settings. This includes setting a reward expiry.
You can set up and style your participant experiences in various ways. Read more about the various options in the Introduction to Participant Experiences article. For more best practices around program customization, view our article on how to Brand & Customize Your Advocate Program.
You can send transactional emails to your customer advocates and anyone they refer. For example, you can alert participants when a friend signs up using their referral code, or when they’ve earned a reward. Effective program emails are informational and contain a call-to-action (CTA).
Make one of impact.com's email templates your own, import an email template created in another tool like Marketo, or use the email editor to design a unique email from scratch. Learn more about Email Experiences.
The program widget is the main way participants engage with your program. Use the In-App or Website Referral Widgets to allow your existing advocates to learn about and share your program with their friends and colleagues. Use the Friend Widget to allow new, referred friends to identify themselves to the program and instantly get their reward. Learn how to Customize Program Widgets.
Referral codes, share links, and message links are the main methods your customer advocates use to refer their friends. Each of these is unique to individual participants. Learn more about Referral Program Sharing Options.
Social Messaging settings allow you to configure the suggested posts or messages that an advocate sees when they click a message link. Message links help advocates share their unique share link via email, Facebook, X, and other social media platforms.
On the Program Rules page, select the Sharing tab.

Select Hosted as the Open Graph Source. This allows you to define your messaging in the impact.com platform.
Add a Title, Description, and optionally an Image.
See Message Links Explained for more on the dynamic variables.
Select additional share messages per social network.
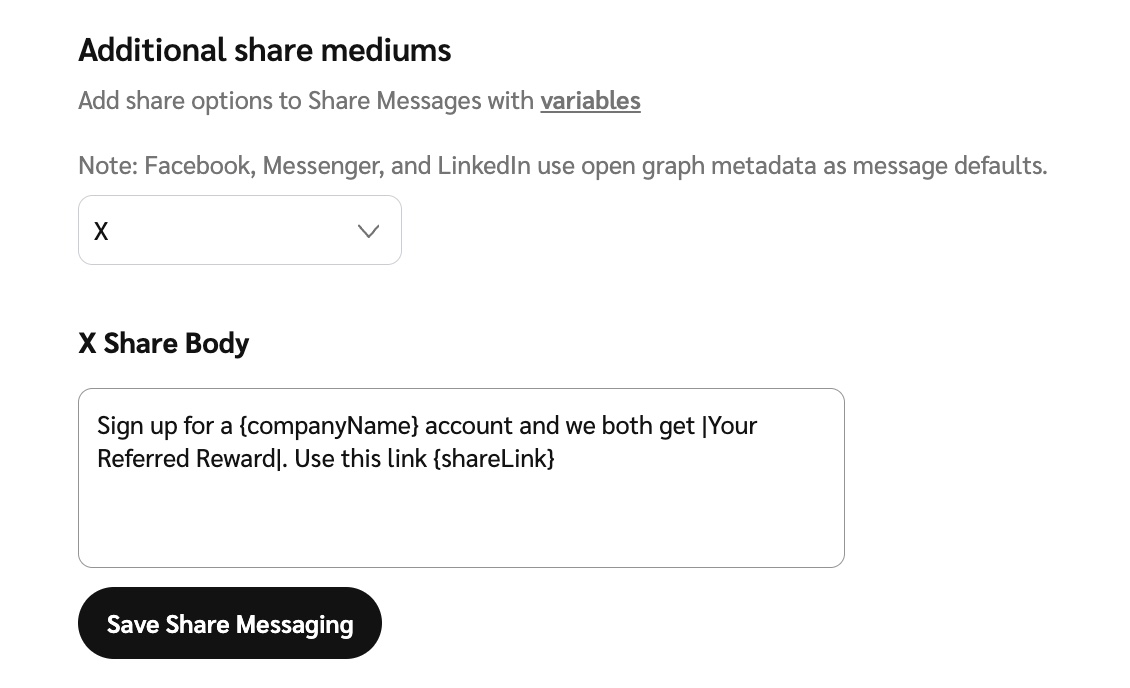
Select Save Share Messaging.
[Optional] Add translations
Take advantage of the translation and localization support to make your referral program available in multiple languages.
On the Program Rules page, select the Content tab.
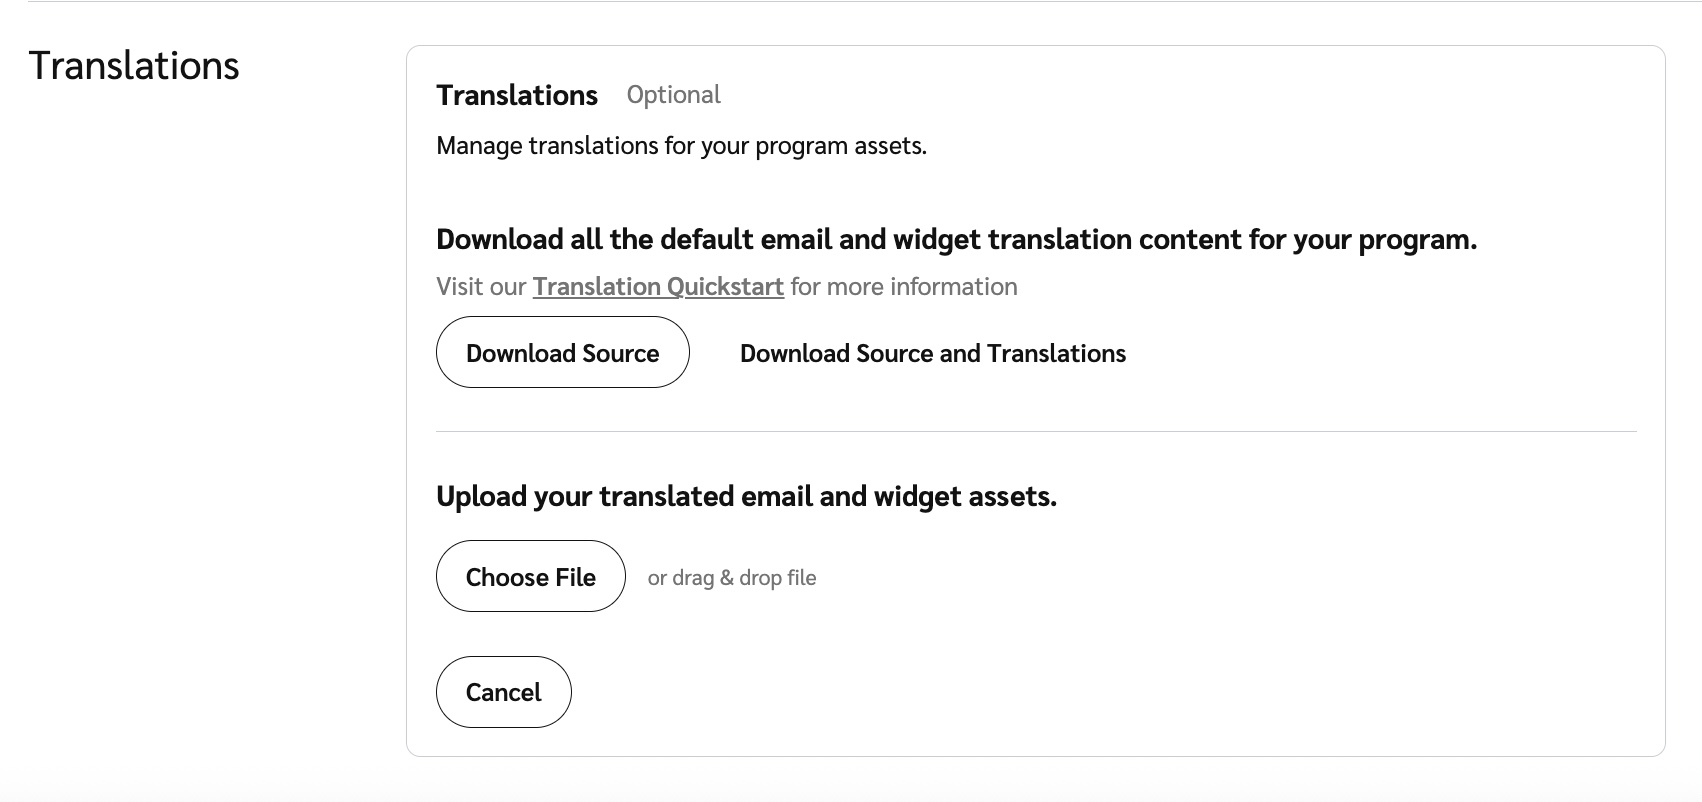
Scroll to the Translations section at the bottom and select Edit.
Translate the files off program.
Upload the translated email and widget files.
Select Save.
Microsite translations
Microsite content translations need to be done on the Content page.
In the left navigation menu, select Content.
In the Translations section select Microsite to expand a list of options, then select the microsite content you want to translate.
Download the source content and translations, translate the content off platform, and upload the translated files.
Select Done.