This article will provide you with the steps you need to successfully join impact.com as a partner.
Need help signing up? If you don't yet have access to the impact.com platform and need help signing up, submit a support ticket and one of our friendly agents will assist you as soon as possible.
If you want to join impact.com as a partner, you will need to create an account by completing the following steps:
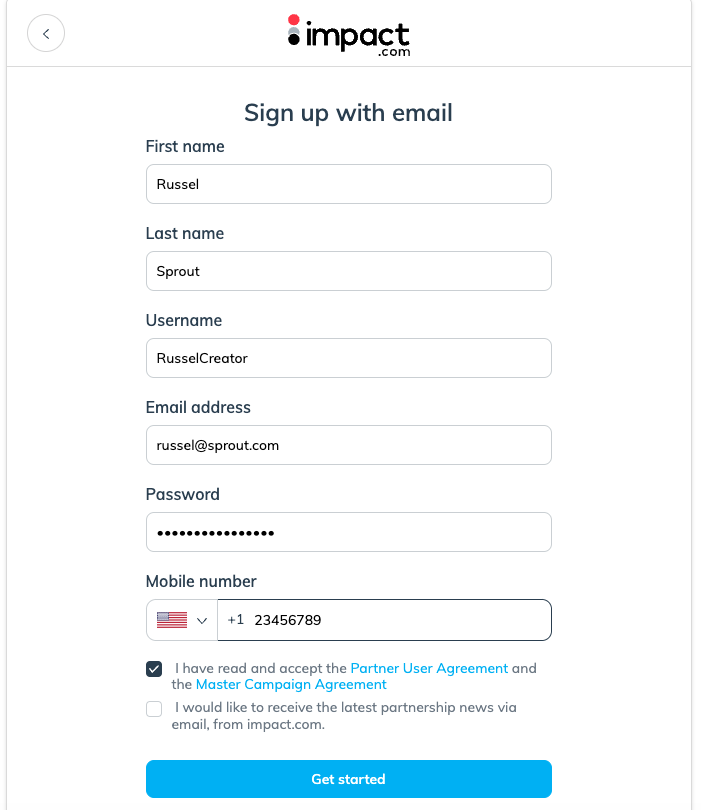
Navigate to the sign-in page and select Sign up as a Partner.
Select your preferred language in the upper-right corner.
Opt to Sign up with email or sign up with your social account (Apple SSO, Facebook, Twitter/X, LinkedIn, or Google).
If you opt to sign up with your social account, you’ll have to use your account’s login credentials.
Check the Media Partner Service Agreement and the Master Campaign Agreement boxes to accept the terms and conditions of using impact.com.
Optionally, select
[Unchecked box] I would like to receive the latest partnership news… field to receive industry news and marketing updates from impact.com.
Select Get started.

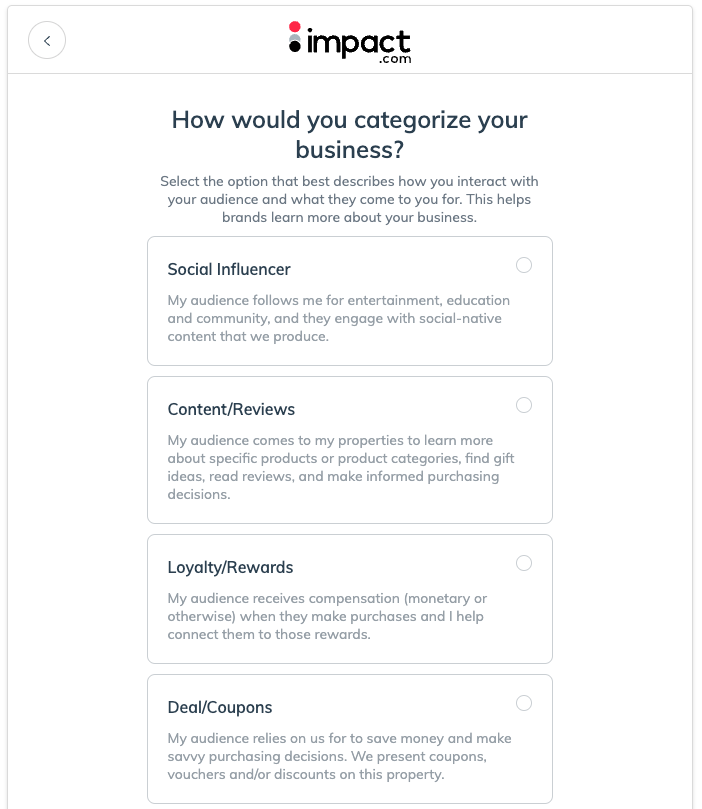
Select a category that best describes the method you use to promote brand content.
Select Continue.

Not sure what your business category is? See the Business categories explained table below.
Category | Description |
|---|---|
Social Influencer | As a creator, you have an audience that follows you for entertainment, education, and community, and they engage with social-native content that you produce. You may market products and services to this audience via social media platforms. |
Content/Reviews | Partners focused on producing editorial content related to promoting, comparing and listing products and services. |
Loyalty/Rewards | Partners who incentivize transactions from consumers, employees, or businesses through a membership and benefits reward program. |
Deal/Coupons | Partners who aggregate and classify deals and promotions for consumer savings. |
Email/Newsletter | Partners who have an audience that subscribes to their email or newsletter that brings together valuable content, discounts, and other information. |
Search/Comparison | Search Engine, Social, or Programmatic marketers that manage keyword campaigns for brands, often on a performance basis. |
Network | Partner platforms that broker access to brand campaigns and provide tracking, reporting, and payment services. |
Technology Solution | Site-side shopping tools or services that drive conversion optimization for brands. |
Cross Audience Monetization | Businesses that publish offers, content, and complementary products to current customers or audiences (e.g., exit traffic, improved UX) to drive incremental revenue. |
Specify whether it’s an individual or company account:
Individual: For an individual or creator who promotes brands across their own media properties.
Company: For a member of or representing a company that promotes brands across its media properties.
Complete the account information fields.
Account display name (The name displayed to brands on your profile, showcasing your professional identity)
Company website (for company accounts)
LinkedIn company page (for company accounts)
Country/Region
Mailing address
Timezone
Currency
Your currency cannot be changed after this step.
Select Submit.
Fill out the following sections:
Section
Required information
Company Information
Here you will add:
Logo: A PNG, JPG, or GIF image of your company's logo can be uploaded here. Recommended size is 150 x 150 pixels.
Description: Tell brands about yourself or your company as well as your content.
Content and Interests: Brands can find you by searching keywords. E.g., Lifestyle, health, fitness.
Business Model: You can select the model your business fits best from the drop list.
Additional Information
List any additional links with information to share with brands.
Contacts
Select at least one user to be displayed as the point of contact when brands are reviewing your profile.
Media Kit
If you have one, Upload a PDF of your media kit. You can upload multiple.
Pause Profile
Pausing prevents your profile from being shown to new brands. You are still visible to and can work with your existing brands.
Select Save.
If you make use of a website or social page, you will need to verify at least one of the media properties. There are multiple ways to verify your properties depending on the type of media property you have set up. Learn more about connecting media properties.

What's next? Once your application is approved, it's time to start working with brands! For step-by-step instructions (plus helpful tips!) check out our guides on getting started for partners and creators.


