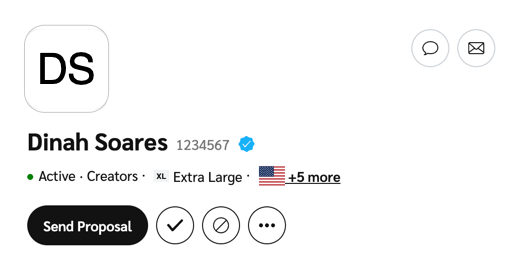
Once you’ve marked a potential partner as a Prospect, you can message or email them within the impact.com platform. To email a joined partner, see Email a Partner instead.
From the left navigation bar, select
[Discover] → Prospects.
Hover your cursor over the prospect to which you want to send a message, then select
[More] → Message.
Enter the message you'd like to send.
Optionally, you can
[Attach] the following file types: CSV, PDF, JPEG, PNG, GIF.
impact.com scans all incoming and outgoing attachments for viruses.
Once you've composed your message and added your attachments, select Send.

From the left navigation bar, select
[Discover] → Find Partners → Partner Marketplace.
Alternatively, if you have a creator program,
[Discover] → Find Creators → Creator Marketplace.
Select the All Partners tab.
Alternatively, select the All Creators tab.
Hover your cursor over the partner you want to email, then select the partner tile.
In the slide out that appears, select
[Email].
See the Email details reference below for more information on how to fill out the email.
Select Send when you're done.

From the left navigation bar, select
[Discover] → Prospects.
Hover your cursor over the prospect you want to email, then select
[More] → Email.
See the Email details reference below for more information on how to fill out the email.
Select Send when you're done.

From the left navigation bar, select
[Discover] → Prospects.
Hover your cursor over each prospect and select the
[Checkbox] next to each prospect that you want to include in the bulk email.
To email all prospects on the first page, select Select All at the top of the table. Manually select any additional prospects on the following pages.
Above the table, select Email.
See the Email details reference below for more information on what to include in the email.
Select Send when you're done.

Detail | Description |
|---|---|
From name | Who the email is from (e.g., your name). |
Reply to email | The "return address" of the email (e.g., your email address). Connect your personal email to your impact.com account to send emails to prospective partners directly from your email address. |
Subject | This will appear in the subject line of the email. |
Content | This will be the email's contents. |
Special Tokens | You can embed special tokens into the email content that will dynamically populate values:
|