The microsite editor gives you control over what your Advocate program's participants will see by letting you customize layouts, pages, content, and branding elements like fonts and colors.
This help article explains the editor’s interface and provides general information about how microsites are structured, including layouts, pages and components. Learn more about setting up a microsite and customizing the branding and content of its layouts and pages.
The microsite editor consists of a top menu bar, the editing canvas, the microsite slideout, and the component menu.
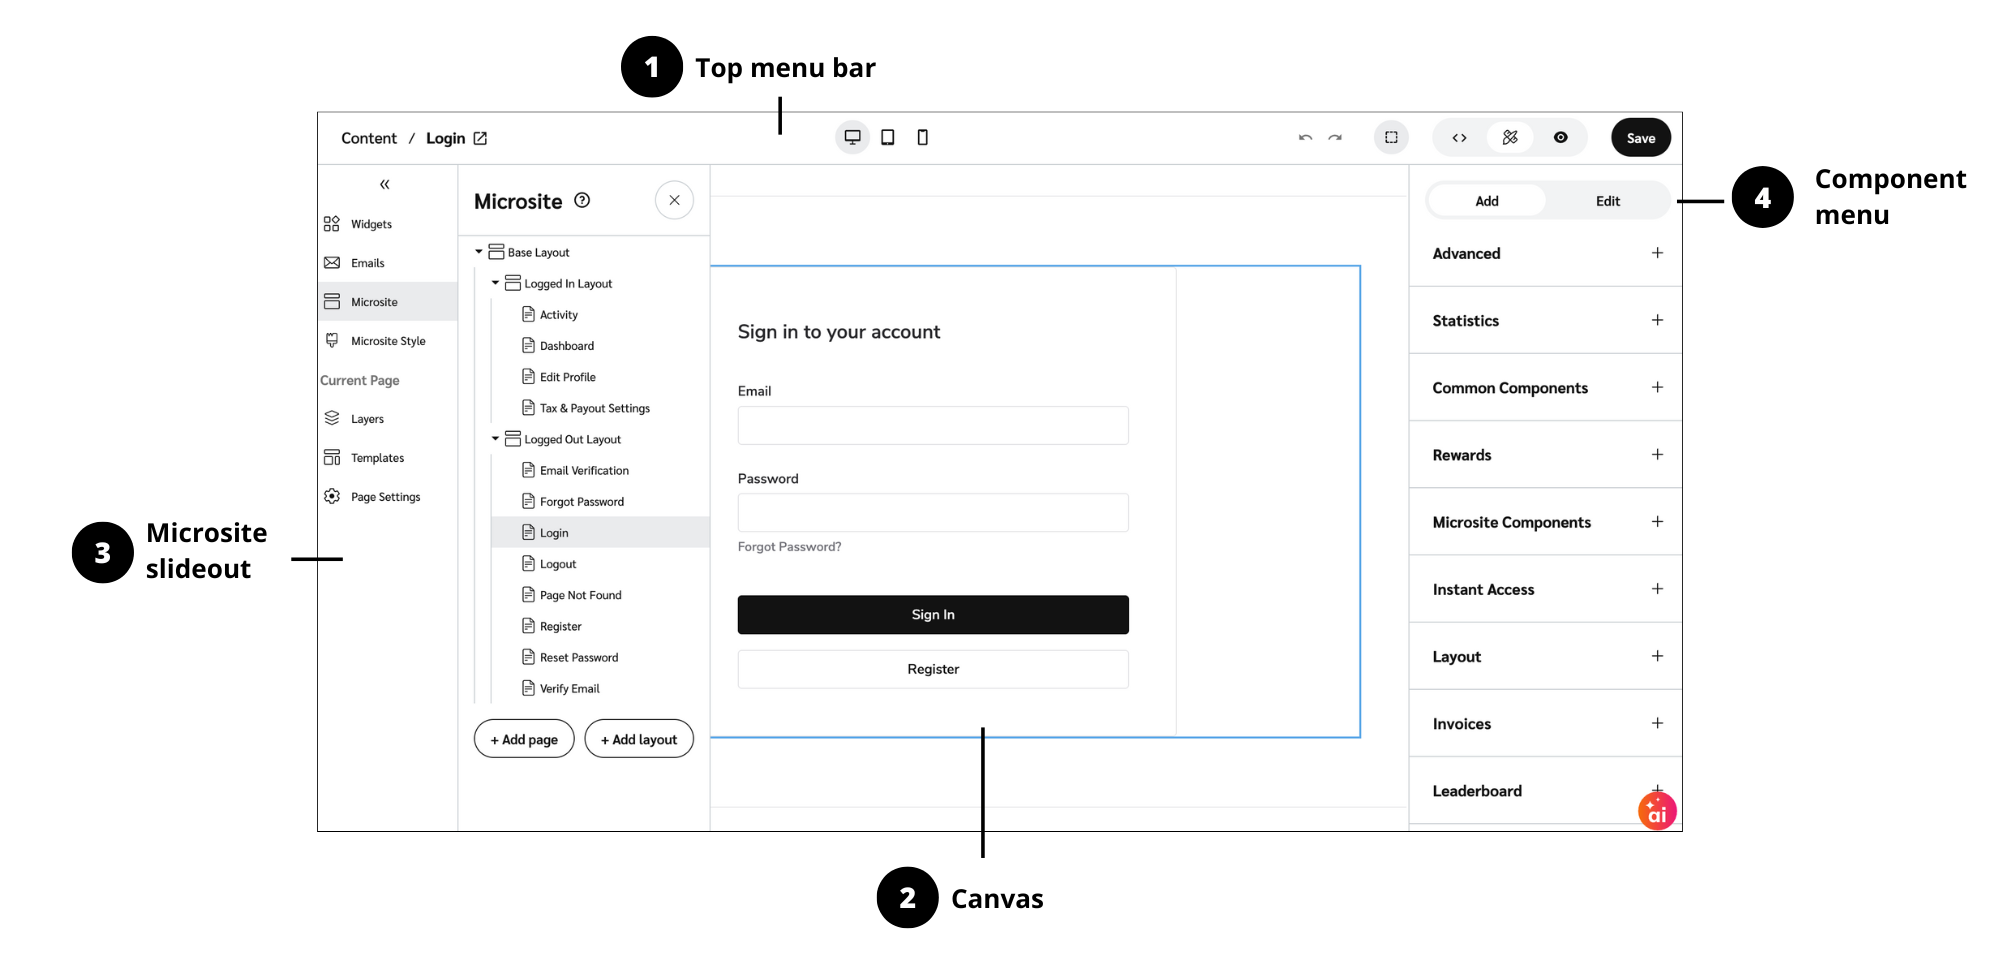
The menu bar at the top of the page is where you can undo actions, view the HTML code, and preview the finished microsite. Use the desktop, tablet, or mobile icons to see how your microsite will appear on devices with different screen sizes.
The canvas displays the current content of your microsite. You can select individual components to edit them, or add new ones and see at a glance how they'll show up for your participants. These components are listed to the left within the microsite slideout section.
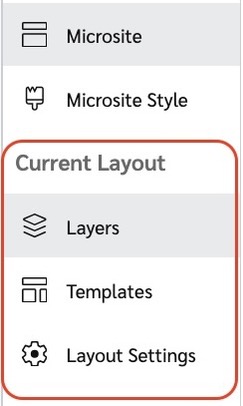
Select Layers to see a detailed view of all of the components on your page or layout
Select Templates to view the available templates for your microsite's pages.
You’ll see a context-dependent third menu based on your selected page, layout, widget, or email
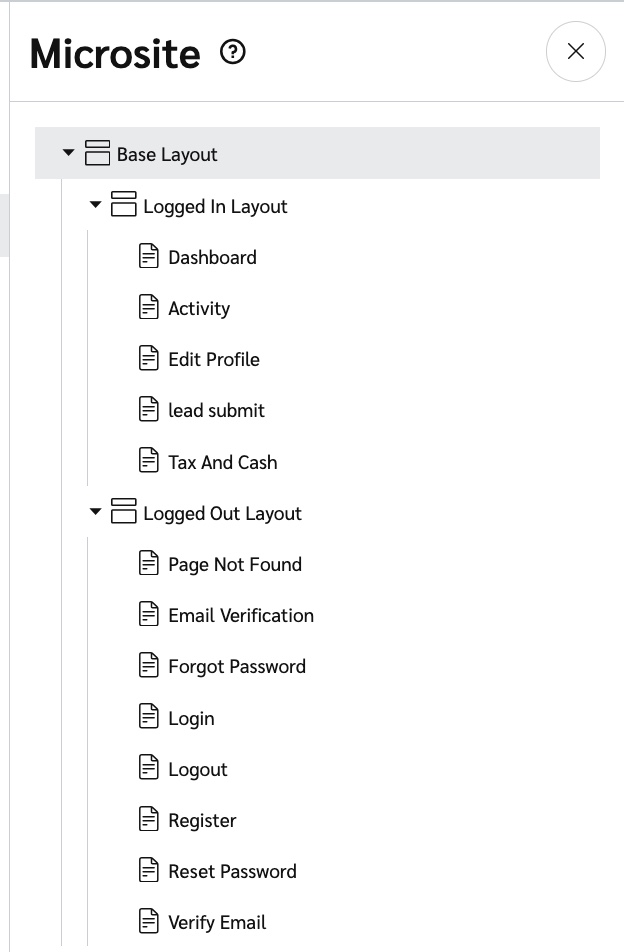
The microsite slideout is a collapsible panel to the left of the canvas. It visualizes the inheritance structure of your layouts and pages as a tree. Select individual layouts or pages to view the content and make adjustments. This is also where you can add more pages and layouts.
For even further styling on a branding level, select the Microsite Style option. View Customize Widgets and Microsites with the Content Editor for more information on the styling options available to you.
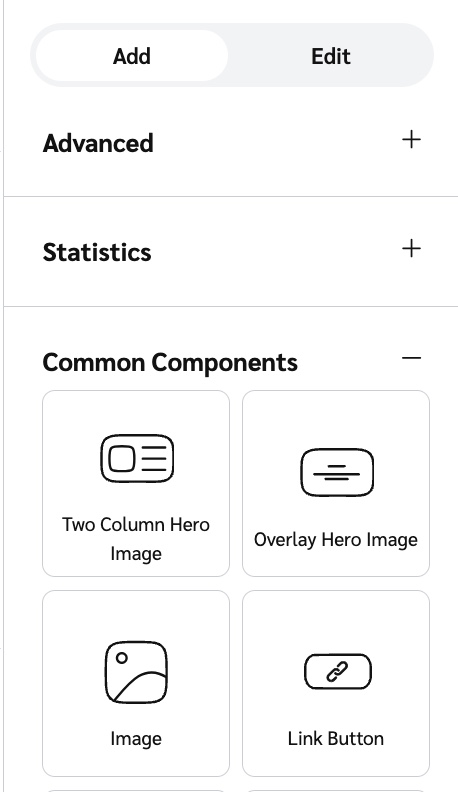
The component menu is a panel to the right of the canvas. Use the Add tab to insert new components into the canvas and the Edit tab to make adjustments to what's already there.
There are a few building blocks that are important to understand as you customize your microsite: layouts, pages, and components.
Layouts act as “frames” for your microsite. They’re where you can place components that you want to appear pervasively across the microsite, like headers and banner images.
Layouts and pages are linked through an inheritance structure. Both pages and layouts can inherit a layout. Pages and layouts that have an inherited layout will have their content wrapped by their inherited layout’s content.
If you used auto setup to create your microsite, then your site has three layouts by default.
The base layout is where you can place content that you want to appear regardless of which page a participant is on and whether they’re authenticated on your site. It's where you can add a header or footer that you want to appear across the site. The base layout also contains the brand container, which manages colors and fonts sitewide.
Both the Logged In Layout and the Logged Out Layout inherit the Base Layout.
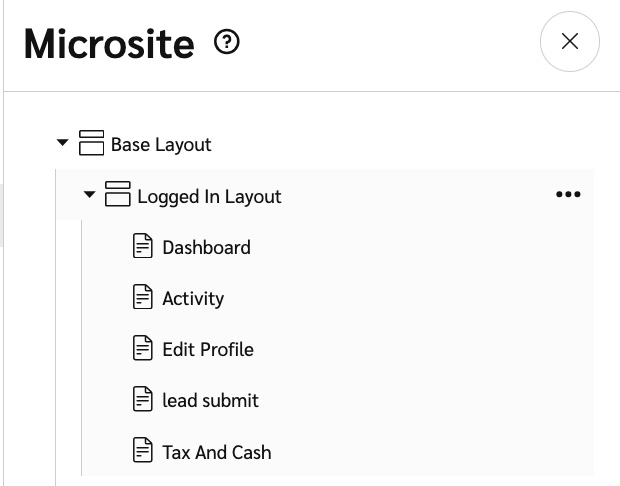
The Logged In Layout is where you can add components that all your logged in participants will see, regardless of which page they are on. For example, your microsite’s sidebar navigation menu is created through a component in the layout. Because it’s added to the layout, any page that inherits that layout will include that sidebar.
The Logged Out Layout is where you can customize what any participant who is not currently authenticated will see.
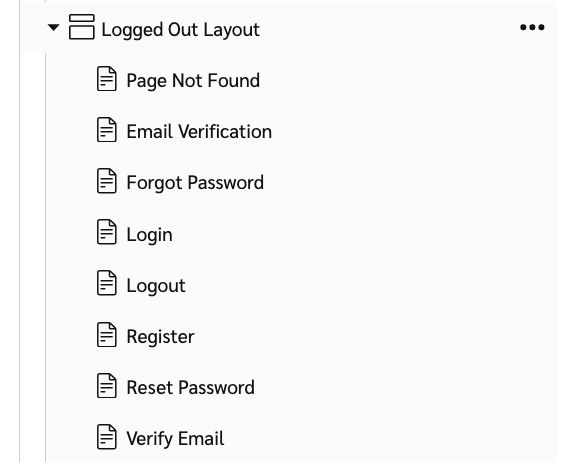
Pages are where you build the content of your site, like program explainers, referral and sharing information, and text/images. Select an individual page within one of your layouts to open and edit its content.
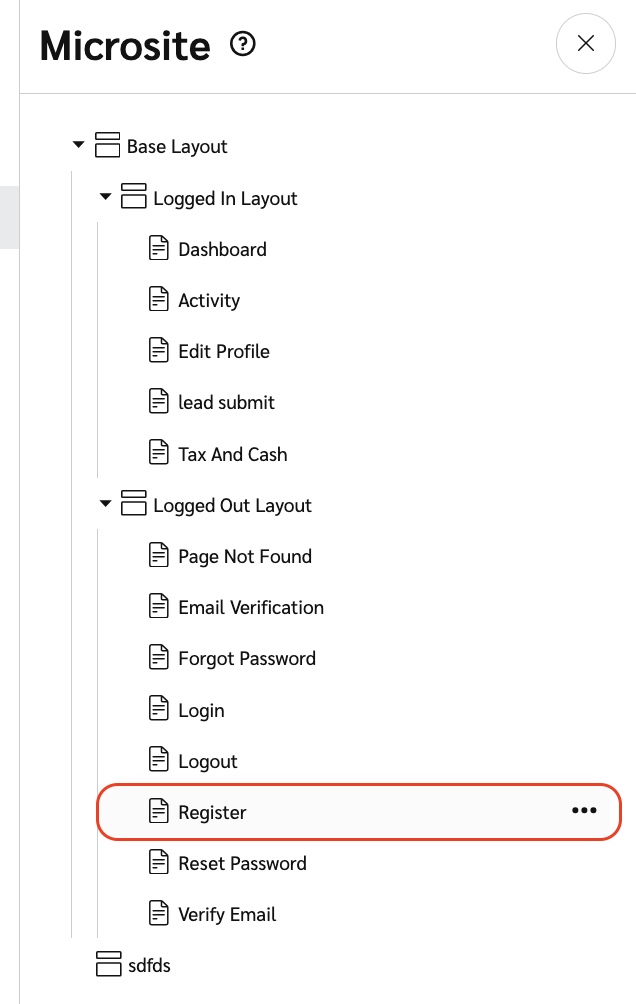
Visibility can also be set at the page level, allowing you to restrict page access to one of the following options:
Verified: Logged in participants only.
Unverified: Logged in participants who have not verified their email address.
Public: Viewable by anyone.
If you used auto setup to create your microsite, then your site comes equipped with several pages that inherit the Logged In Layout and the Logged In Layout.
Inherited Layout | Page |
|---|---|
Logged In Layout | Activity |
Dashboard | |
Edit Profile | |
Lead Submit | |
Tax and Cash | |
Logged Out Layout | Email Verification |
Forgot Password | |
Login | |
Logout | |
Page Not Found | |
Register | |
Reset Password | |
Verify Email |
Components are individual elements that you can add to your pages and layouts to further personalize your participants’ microsite experience, like hero images or a referral feed.
Components are grouped together in the component menu. Refer to Widget and Microsite Components Explained for a full list of the component groupings and individual components.
![[Engage] v2](https://paligoapp-cdn-eu1.s3.eu-west-1.amazonaws.com/impact/attachments/f01cdffa431a4d75ff09c130b66974d4-aa671735ec2b65af79961eaf59ab60af.svg)