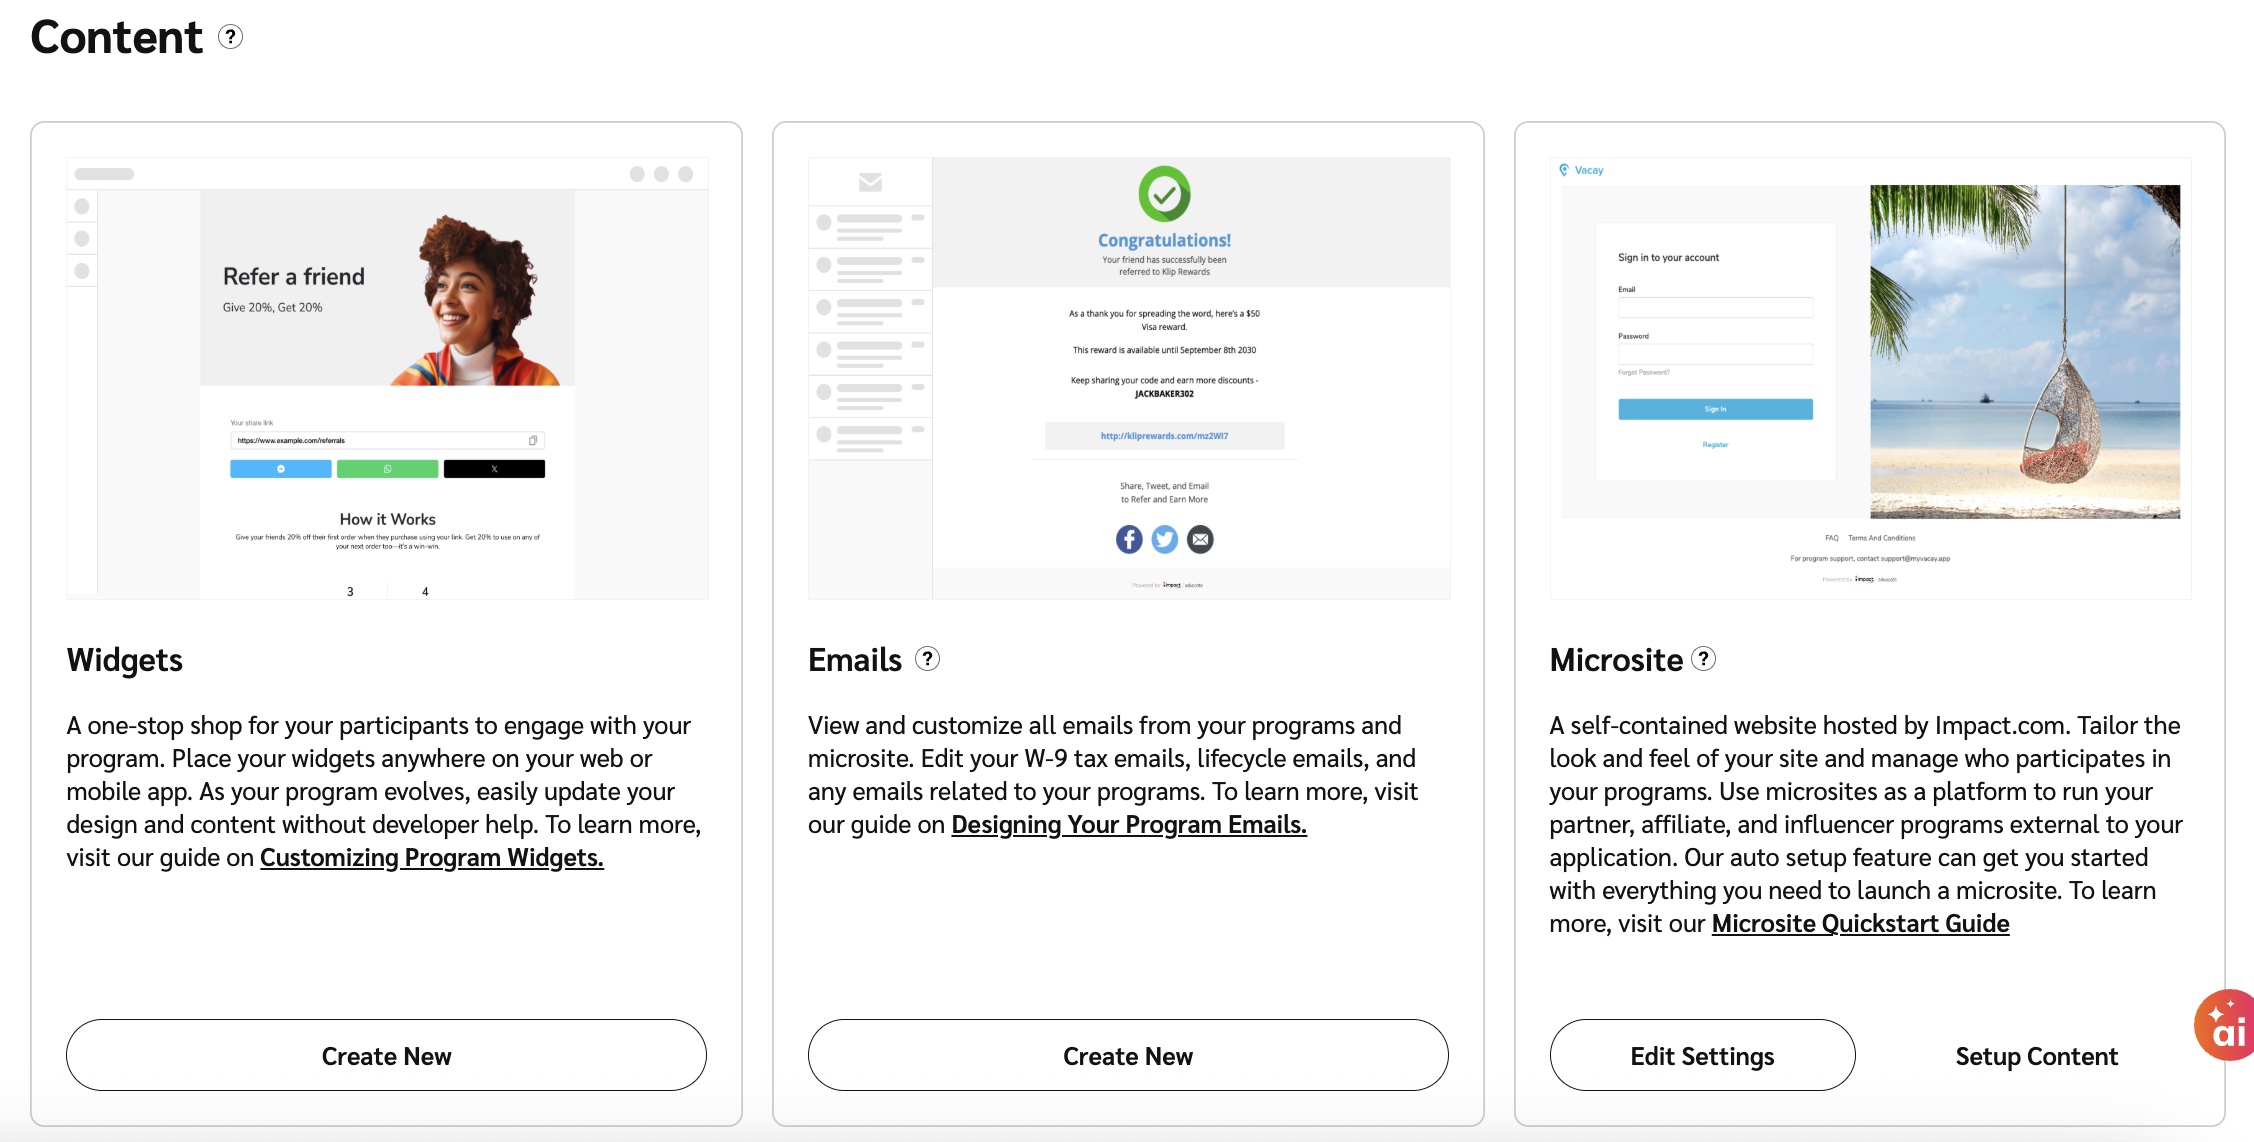
For a quick microsite setup experience, we recommend that you use the auto setup feature. This guide will show you how.
From the left navigation menu, select
[Engage] → Content.
On the Microsite card, select Setup Content.
If you have already added a microsite, select Edit Content instead.

Use the template options available on the left navigation to get your microsite auto set up.
This step is completed in the microsite editor.
From the left navigation menu, select
[Engage] → Content.
On the Microsites card, select Edit content.
In the Microsite slideout, select Base Layout.
In the slideout, below Current Layout, select Layers.
Select the Program Section row, then close the slideout.
In the component menu at the right side of the page, use the drop-down list to select the program you want to be connected to this microsite.
Select Save in the top right corner of the page.
The registration form collects the name and email address of every participant who signs up through your microsite. You can change what information the form collects by modifying the registration form in the microsite editor.
From the left navigation menu, select
[Engage] → Content.
On the Microsite card, select Edit content.
Within the Microsite slideout, select the Register page below the Logged Out Layout.
Select
![[Exit icon]](https://paligoapp-cdn-eu1.s3.eu-west-1.amazonaws.com/impact/attachments/f01cdffa431a4d75ff09c130b66974d4-6b8870ddf0980d012485043e0aacc26e.png) [Exit icon] to minimize the Microsites tab.
[Exit icon] to minimize the Microsites tab.From the component menu on the right side of the page, expand Microsite Components, then select one of the form components.
Add the component to the microsite page by selecting one of the Add to locations on the canvas.
Visit Microsite Editor Explained to better understand the functions of the microsites.
Select Save in the top right corner of the page.
By default, each microsite uses the domain http://companyname.advocate.impact.com/, but you may opt to use a domain you own. Refer to our help article on setting up a domain if you want to use one for your microsite.
By default, we include HTML that sets up a tab icon at the top of your browser tab. You can replace the icon with your company’s logo—if you don’t, the tab will show the default logo. The head element is also where you can insert SEO-related script tags and other branding/styling elements if desired.
From the left navigation menu, select
[Engage] → Content.
On the Microsite card, select the Edit Settings.
Under the Site Hosting heading, find the Head HTML section.
Paste your script and select Save config.
The default microsite has a template applied, but it should be customized before it’s rolled out to your customer advocates. You can customize the layouts, pages, branding, and content of the site.
At a minimum, we recommend:
Customizing the dashboard.
Modifying the brand container.
Customizing the microsite header.
Reviewing the lifecycle email templates.
Editing page content.
Refer to our doc on Customizing Microsite Layouts and Pages for an in-depth look at how to do these and more.