impact.com notifications keep you informed about events happening in your account. Learn how notifications in impact.com work, and how you can customize their frequency.
impact.com will send you notifications when events occur in your account. By default, you'll receive notifications about:
Administrative events, like when your account changes or when new users are invited and join
Finance events, like when your payments go out and your account balance changes
Program events (Campaign events), like when partners apply to your program, contracts are updated, and more
Technical events, like when your FTP or API credentials are requested, files are processed, or if errors occur
These notifications appear in the notification panel accessible in the left sidebar and are sent to you via email.
Notifications can be sent on a per-event basis; through daily, weekly, or monthly email digests; sent to your mobile device via SMS; or configured to not notify you.
From the top navigation bar, select
![[Notification]](https://paligoapp-cdn-eu1.s3.eu-west-1.amazonaws.com/impact/attachments/f01cdffa431a4d75ff09c130b66974d4-5d08c5dce20955a1186fd05542fb4ebf.svg) [Notifications] to view your notifications.
[Notifications] to view your notifications.In the upper right corner of the notification panel, select [Settings]
![[Drop-down menu]](https://paligoapp-cdn-eu1.s3.eu-west-1.amazonaws.com/impact/attachments/f01cdffa431a4d75ff09c130b66974d4-d6b35853a9aa1f1fe6bd66da29bd09fa.svg) to edit notification settings
to edit notification settingsUse the
[Drop-down menu] to modify the notification's frequency.For each notification, you can select Specific settings (Advanced) from the
[Drop-down menu] to specify the frequency at a more granular level.
You can create custom notifications to receive alerts when specific criteria is met.
You can access Custom notifications by following these steps:
From the top navigation bar, select
[Notifications] to view your notifications.In the upper right corner of the notification panel, select [Settings]
to edit notification settings.At the top of the screen, select Custom Notifications.

You can create two different types of custom notifications: Performance notifications and Fraud notifications.
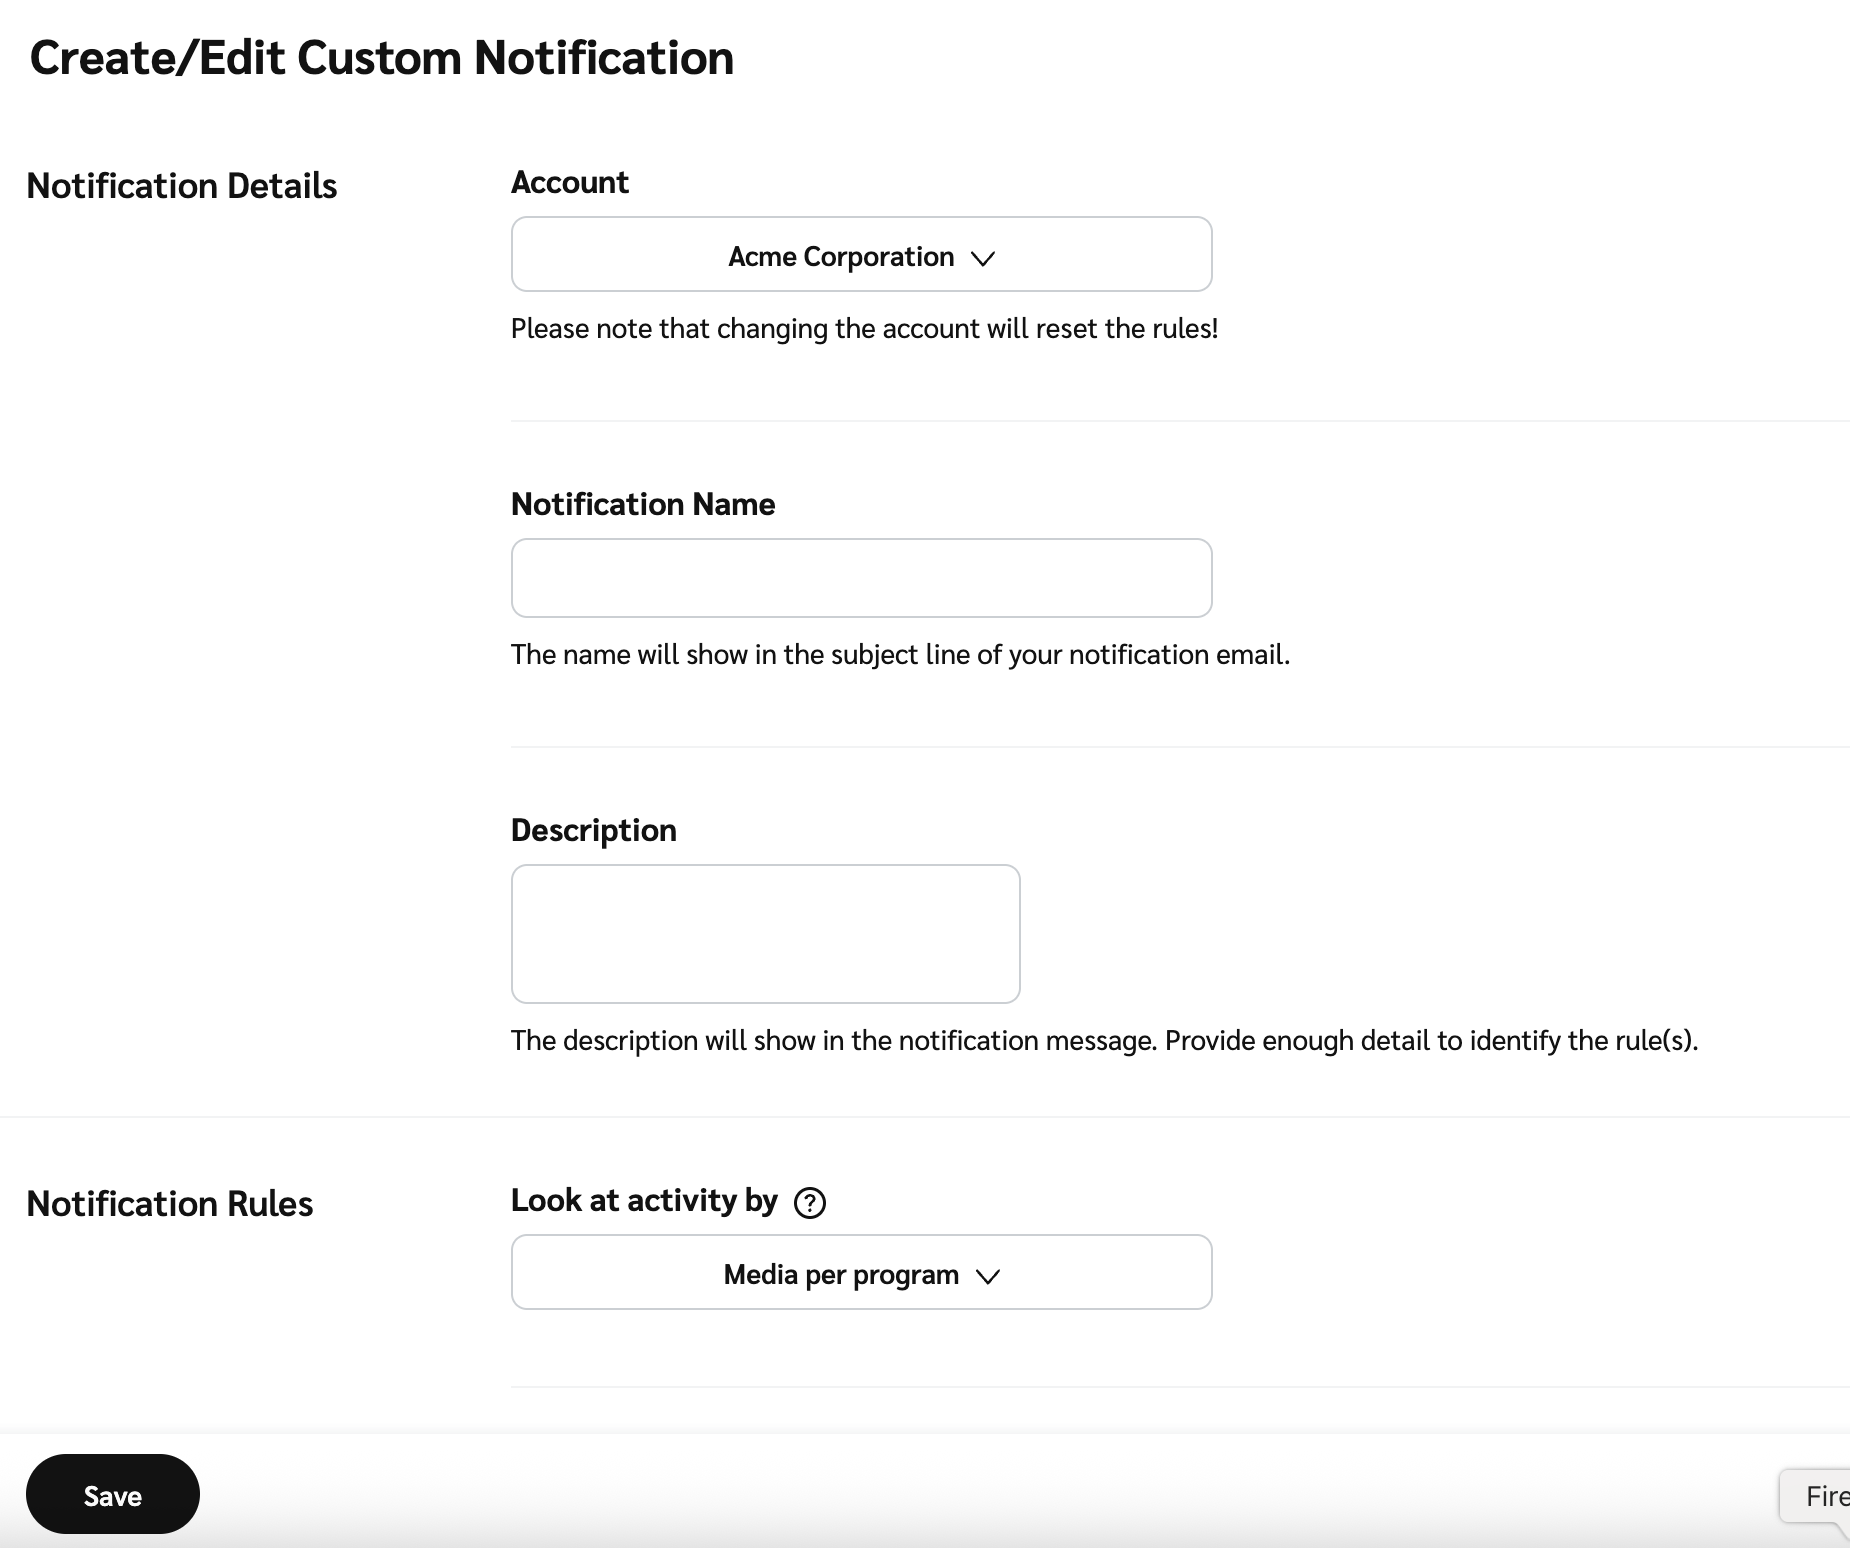
Select Create New → Performance Notification.
Refer to the table below for details on each of the options.
Select Save to create the notification.
Field | Description |
|---|---|
Account | Select which Brand Account this notification is for—this option is primarily for users and/or agencies who manage multiple brands. |
Notification Name | The name will show in the subject line of your notification email. |
Description | The description will show in the notification message. Provide enough detail to identify the rule(s). |
Look at activity by | This option selects the level of granularity the rules are run at.
|
Run Rules | Select the frequency you would like to run the rules, once a day or once a week (Monday). The system analyzes performance and triggers the custom notification message if the rules have been met. You will receive the email in the early morning hours of your time zone. |
Data Range | Select the date range for the notification rules to apply to. Select the Compare checkbox if you want to compare the currently selected date range to another. |
Rules | Choose All (meaning, each rule you set must be met in order for the notification will be sent) or Any (meaning, if any of the rules are met, the notification will be sent). Use the dropdown menus and fields to create your personalized rules. |
Make Public | Select this option if you want other users in this account to also have access to this notification. |
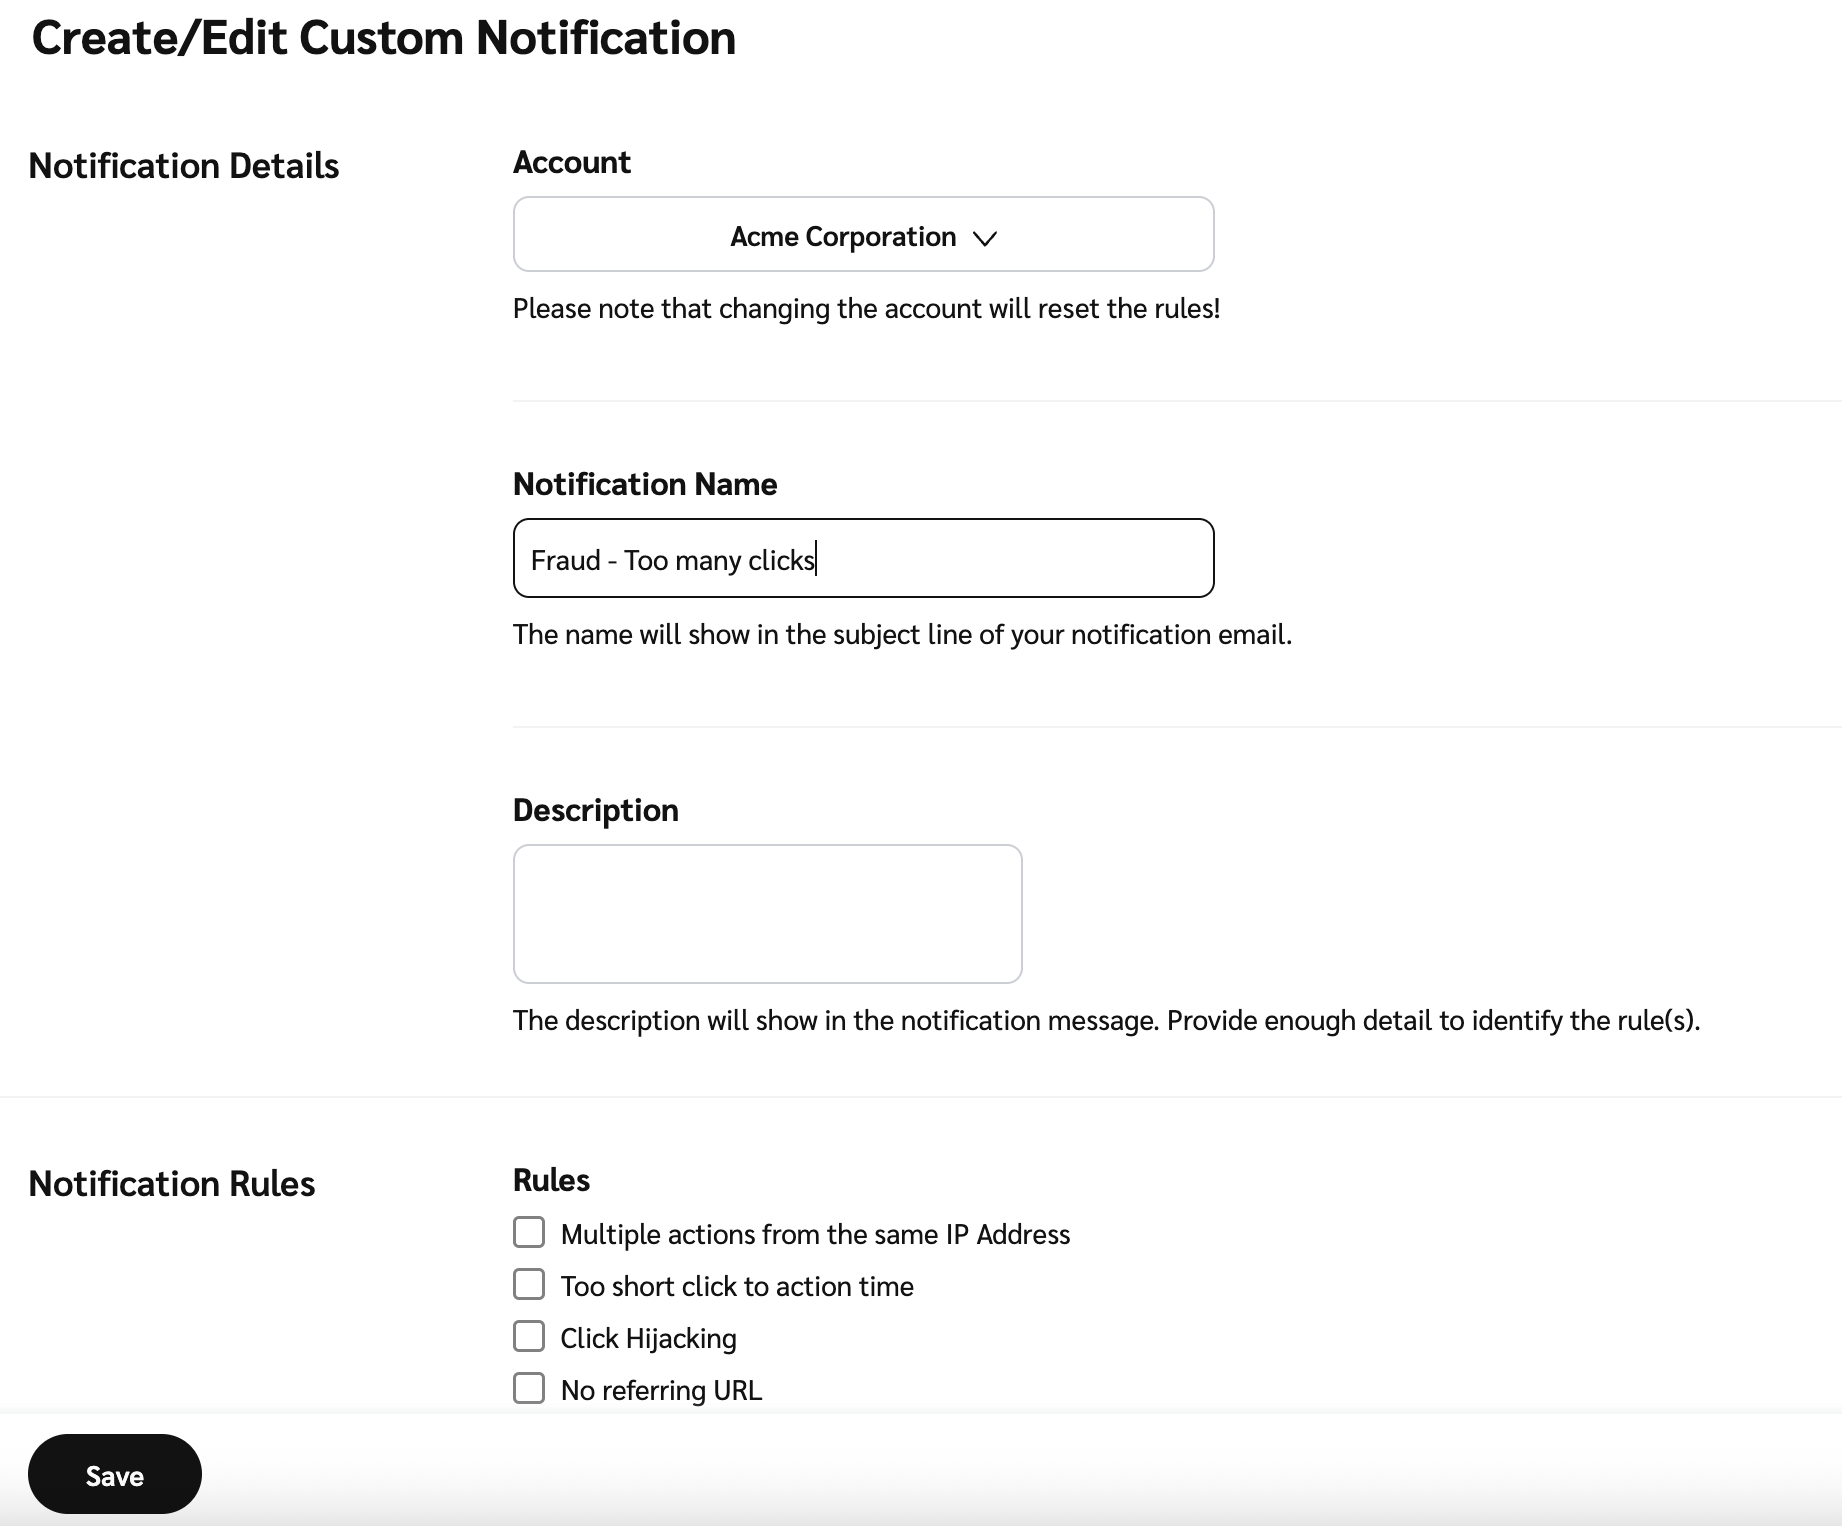
Select Create New → Fraud Notification.
Refer to the table below for details on each of the options.
Select Save to create the notification.
Field | Description |
|---|---|
Account | Select which Brand Account this notification is for—this option is primarily for users and/or agencies who manage multiple brands. |
Notification Name | The name will show in the subject line of your notification email. |
Description | The description will show in the notification message. Provide enough detail to identify the rule(s). |
Rule Notifications | This option selects the level of granularity the rules are run at.
|
Make Public | Select this option if you want other users in this account to also have access to this notification. |