Your Advocate program's microsite typically requires your customer advocates to sign up with a username and password before they can access their share links and reward details. However, as an advanced alternative, you can instead authenticate users by generating a JSON Web Token (JWT) ![[External link]](https://paligoapp-cdn-eu1.s3.eu-west-1.amazonaws.com/impact/attachments/f01cdffa431a4d75ff09c130b66974d4-b8ebe06c75d53cc8d24756ae9b7589e2.svg)
Using this method, participants will not have login credentials for the microsite. Instead, they gain access by logging into your existing customer portal, which then redirects them to the microsite using the JWT to identify them and display their personalized content.
Important: This is an advanced implementation that bypasses the standard Managed Identity Service for the microsite and requires support from your developer team to set up.
You should only use this method if all of the following apply:
You want to simulate a single sign-on (SSO) experience by automatically logging participants into your program's microsite.
You can generate JWTs server-side.
You can't or don't want to install the Universal Tracking Tag (UTT) onto your site.
When you create your microsite, you'll need to turn off the Managed Identity Service, then set all your pages to be accessible to "unverified" users. The Dashboard page will use the JWT to authenticate the user and load the microsite.
First, adjust the settings to turn off the Participant Login option.
From the left navigation menu, select
[Engage] → Content.
On the Microsite card, select Edit Settings.
You'll then be redirected to your new Microsite Settings page.
Within the Login section,
[Toggle off] Participant Login.
Select Save Settings.
Next, configure your microsite's Dashboard page to be visible to unverified users. Then, connect the components on the page with your referral program so the right information appears.
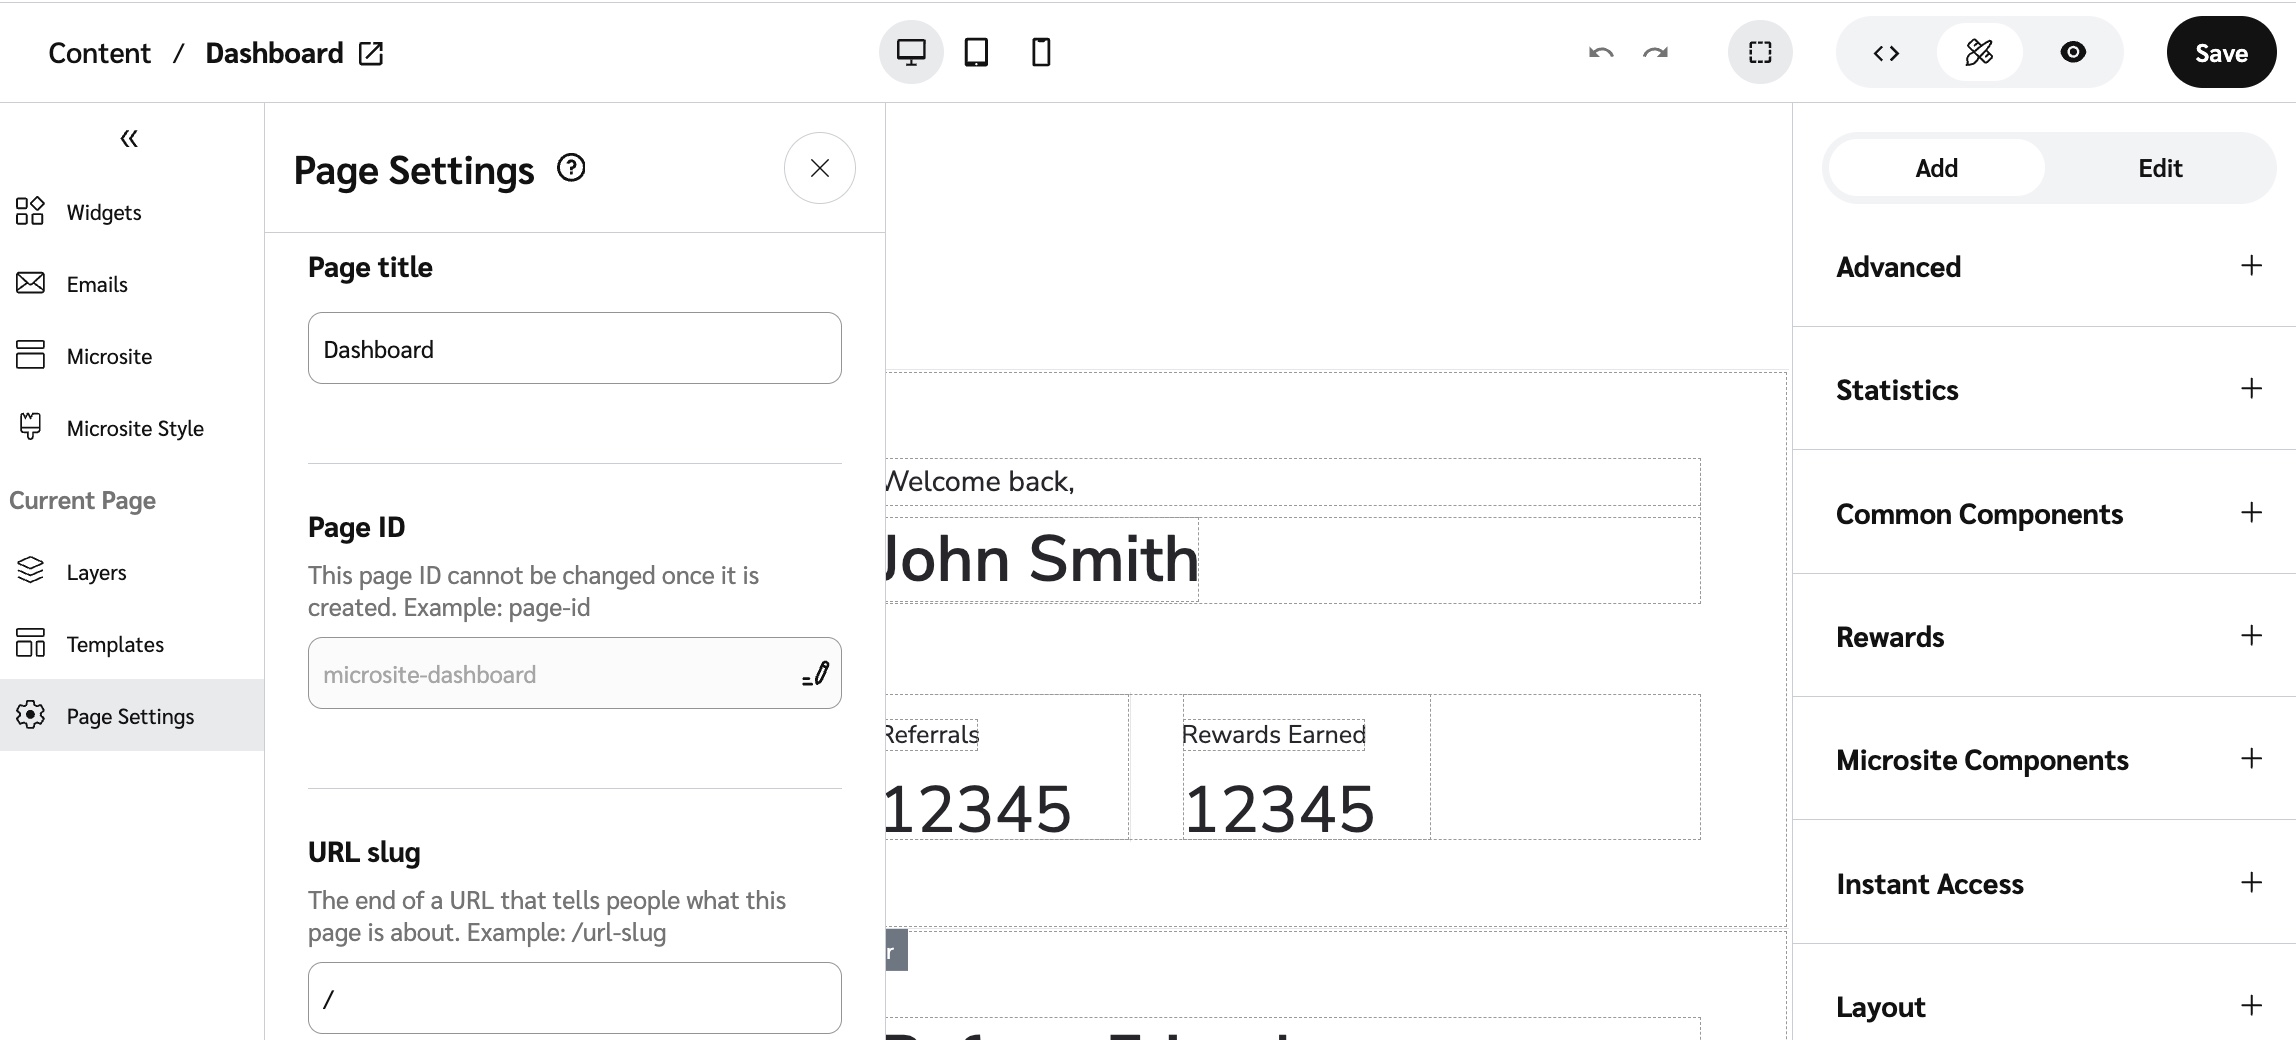
Adjust your site's Dashboard page settings.
From the left navigation menu, select
[Engage] → Content → Setup Content or Edit Content.
From the Microsite tab, select Dashboard in the Logged In Layout section.
Select
[Menu] → Settings.
From the Allowed users drop-down list, select Unverified.
Add your program ID to the components on the Dashboard.
User Stats — You must add the ID to each individual user stat you choose to display.
Share Link
Referral code
Social media buttons — You must add the ID to each individual social media share button you choose to include.
At the top-right corner, select Save.

For help with using the editor to find and adjust your page and component settings, refer to Microsite Editor Explained and Customize Microsite Layouts & Pages.
The JWT structure follows standard Advocate requirements for user authentication. If you've integrated Advocate before, you're likely already generating similar tokens for UTT.
You must generate the JWT securely on your server or any trusted backend system—never in the browser.
Learn how to generate a JWT and the payload requirements.
Once the user is logged into your platform, redirect them to the microsite with the JWT included in the URL query string.
You can either open the microsite in a new browser tab, or embed the microsite in your app using an iframe. If you decide to embed the microsite, make sure you handle cross-origin resource sharing (CORS) ![[External link]](https://paligoapp-cdn-eu1.s3.eu-west-1.amazonaws.com/impact/attachments/f01cdffa431a4d75ff09c130b66974d4-b8ebe06c75d53cc8d24756ae9b7589e2.svg)
If you use this authentication method, users won't have login credentials for the microsite.
JWT-based access must be tightly controlled. Don't expose or manipulate it in client-side JavaScript.
This is a non-standard approach — test it thoroughly in your staging environment before rolling out your program.
If you need support, include your microsite URL, implementation details, and a sample JWT payload in your support request.
![[More] vNext](https://paligoapp-cdn-eu1.s3.eu-west-1.amazonaws.com/impact/attachments/f01cdffa431a4d75ff09c130b66974d4-73f43076a692f2dcc8960037fabdca9c.svg)