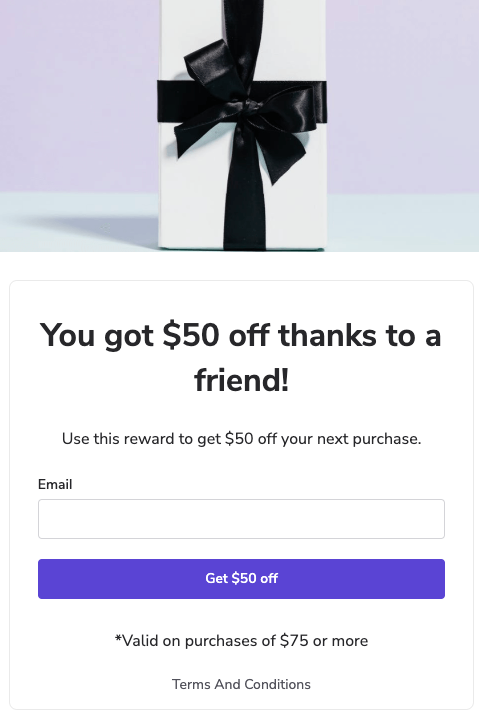
Your customer advocates and the friends they refer can interact with your Advocate program through the program’s widget or microsite and its transactional emails. These elements comprise your advocates’ and their friends' participant experience of your referral program.
You can adjust the branding, content, messaging, and components for each touchpoint from the Content page in your impact.com account. This guide provides an overview of each touchpoint, with links to more detailed documentation.
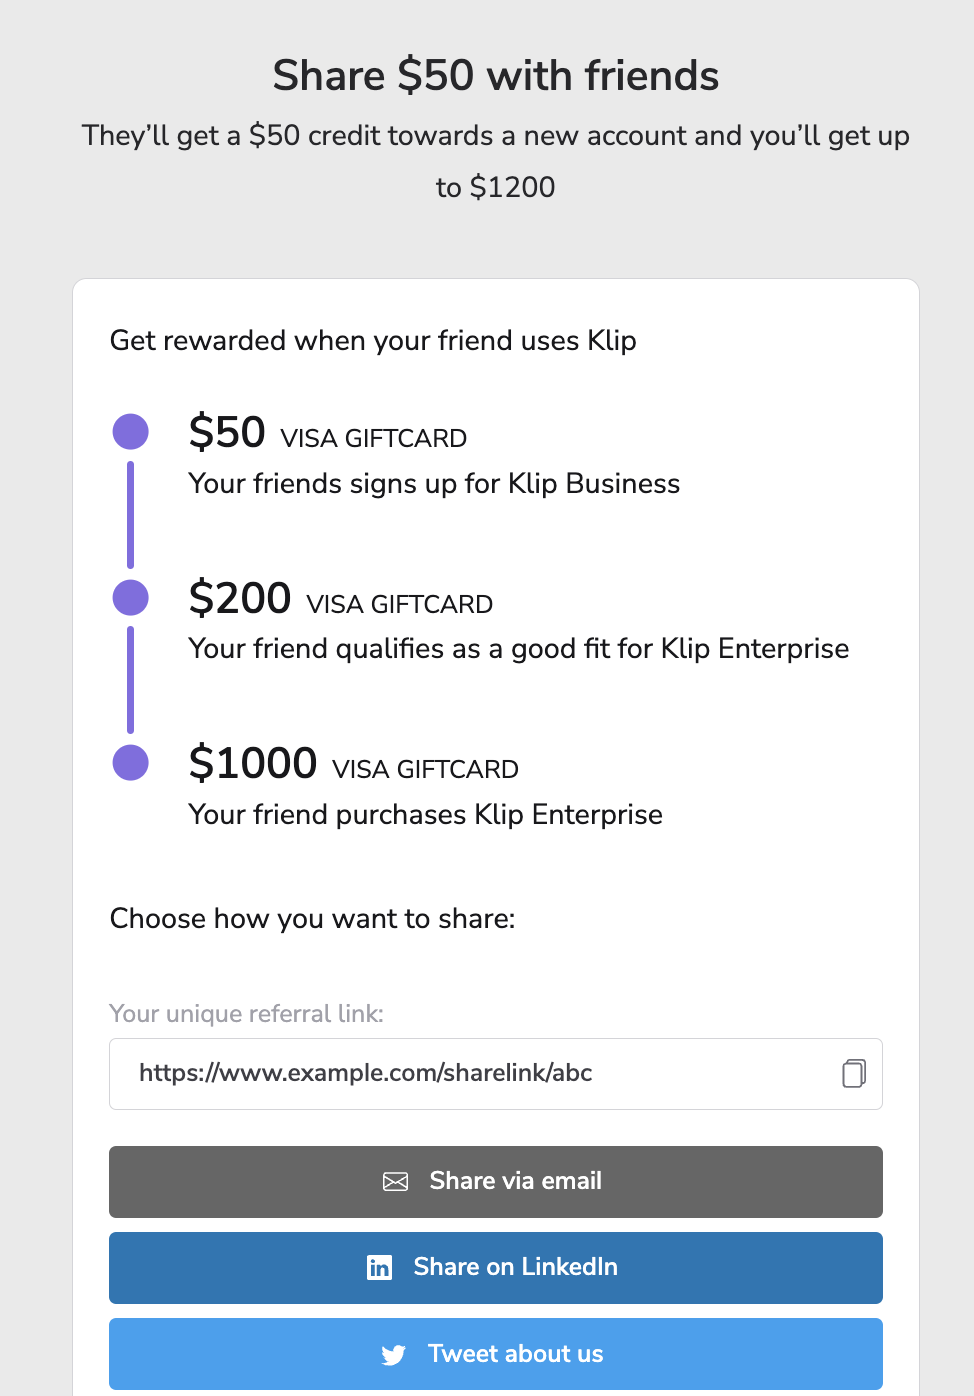
Widgets are a branded touchpoint for your referral program, reinforcing your referral program’s messaging and giving your customer advocates a starting place to make referrals. They provide a space for your advocates to get and share their referral links and codes, view their referral history, and access features like the Reward Exchange.
Widgets can be either verified access, which provide an in-app experience, or instant access, which are commonly used as part of the check-out process for referral programs in the e-commerce space.
Your referral program may feature multiple widgets or a combination of widgets and a microsite.
Learn more about widget experiences.
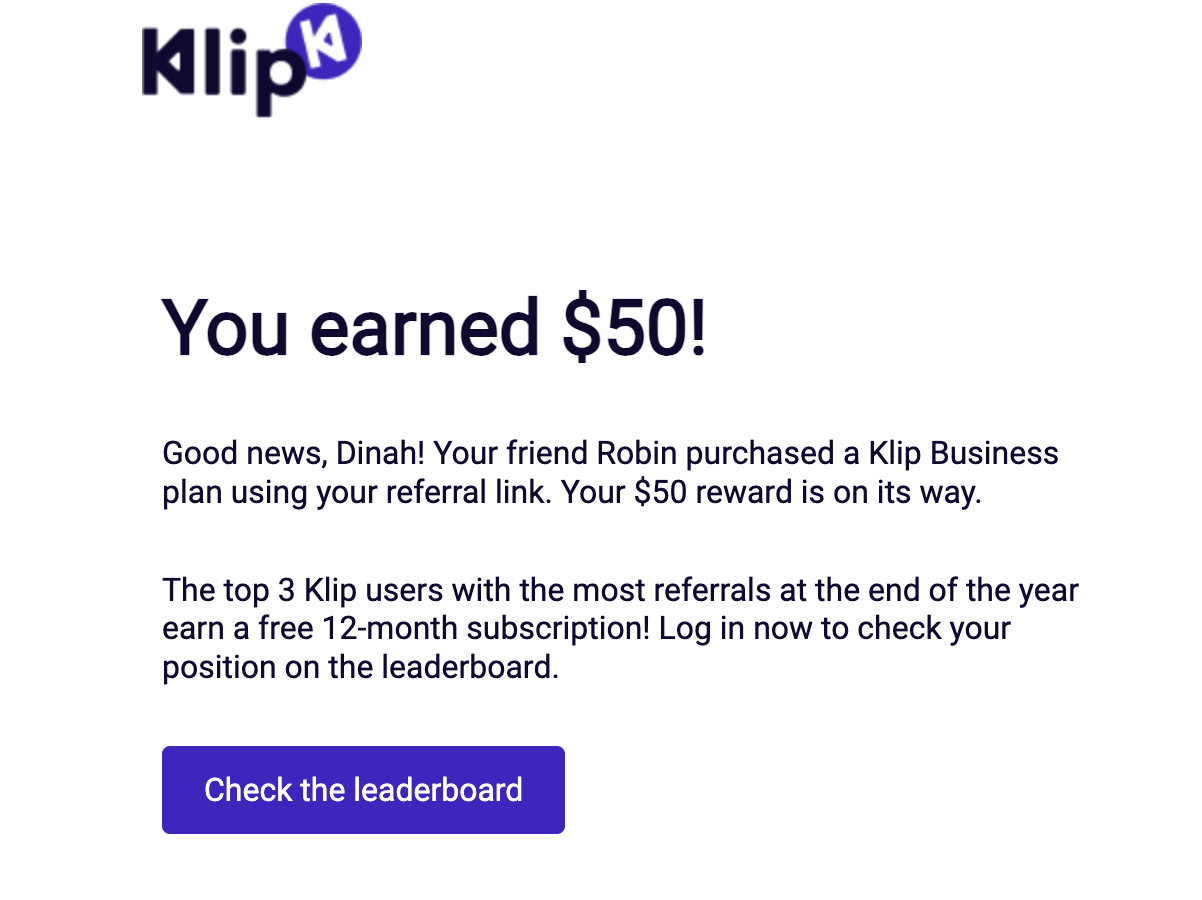
Program emails are sent to your participants at key milestones in their referral journey, like when a referral has been started or they’ve earned a reward. You can determine which actions prompt a program email when you set up your program rules.
Note: impact.com does not support sending marketing emails through the platform, so you’ll need to advertise your referral program through a separate service or integration.
Learn more about email experiences.
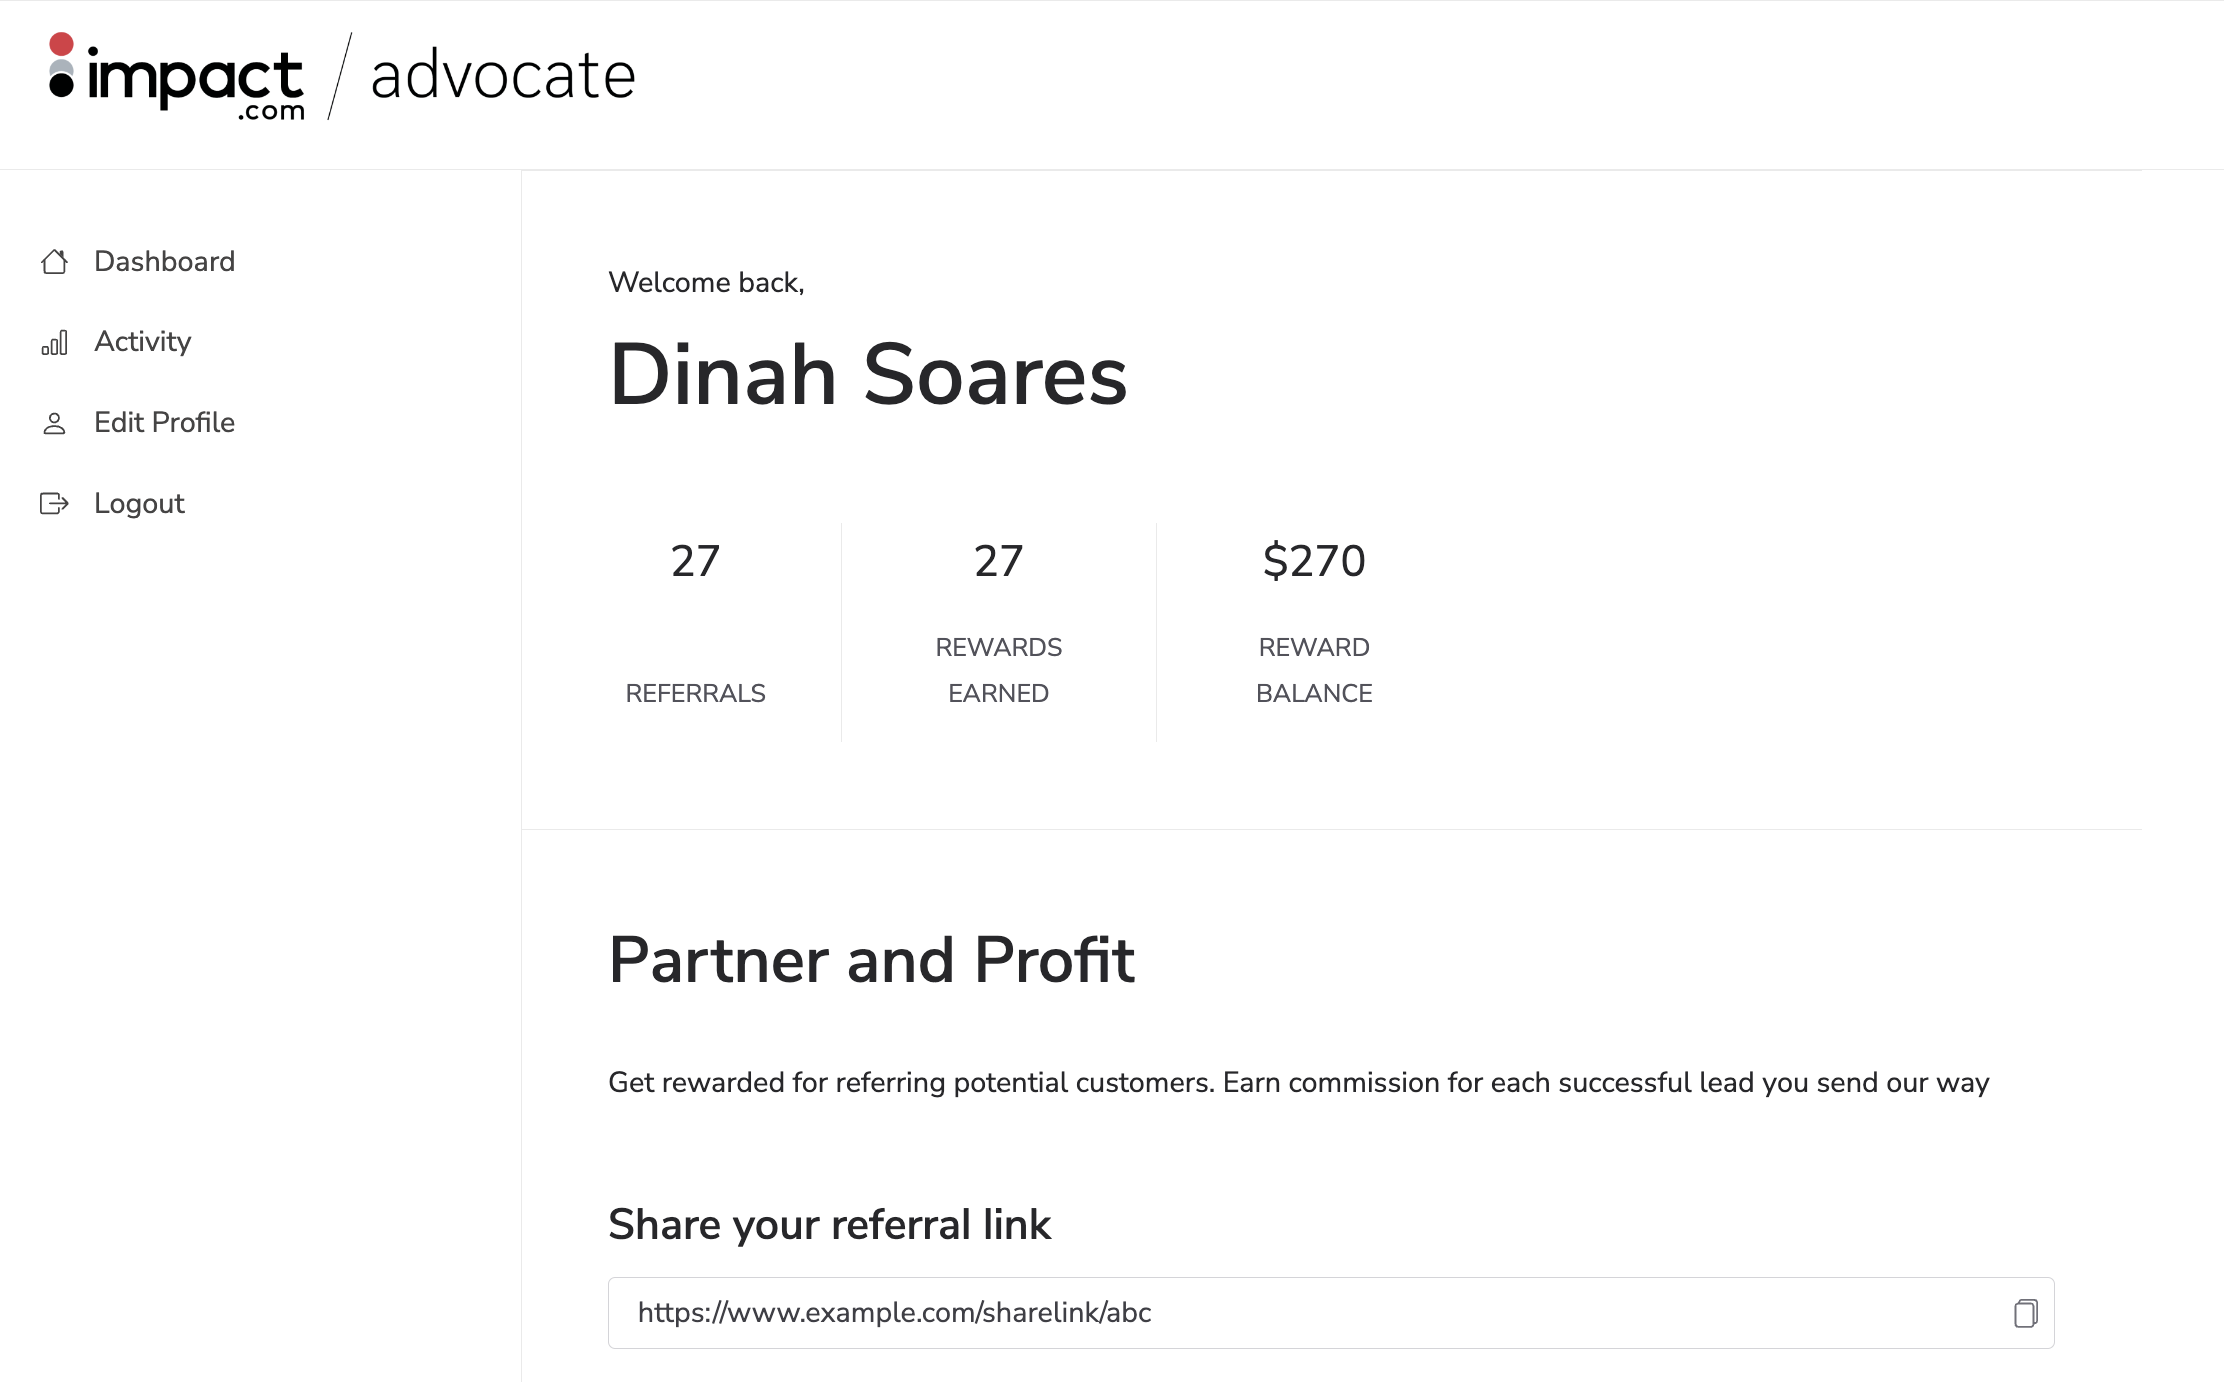
A microsite is a single-purpose, standalone branded website that serves as the hub for your brand’s referral program. It's typically an alternative customer touchpoint for brands that aren’t able to use a widget.
Microsites provide an equivalent to the in-app widget experience. They require your advocates to register or sign in to access your program.
Learn more about microsite experiences.