The content editor empowers you to create widgets and microsites that seamlessly match your brand's identity, ensuring a consistent and trustworthy experience for your customers. A well-branded touchpoint is critical for driving high engagement and program adoption.
You can find and update your brand's core design elements with ease using the widget or microsite style option. All branding settings are located in a dedicated branding section.
Widgets or microsites look different depending on the user's context, like whether they're logged in, encountering an error, or viewing on a mobile device. Our editor previews allow you to easily toggle between all possible states of your widget or microsite.
Note: The preview is more applicable to widgets (e.g. instant access widgets) and components (e.g. cash, reward exchange). To preview microsites, you’d need to navigate to the different microsites pages to see the states.
This eliminates the need to manually complete actions to see how a component will look. You can now confidently edit the text and design for every step of the user journey, including:
Logged-in vs. logged-out views
Error and success messages
Different steps in a multi-part flow (like cash payout verification)
To customize your branding style:
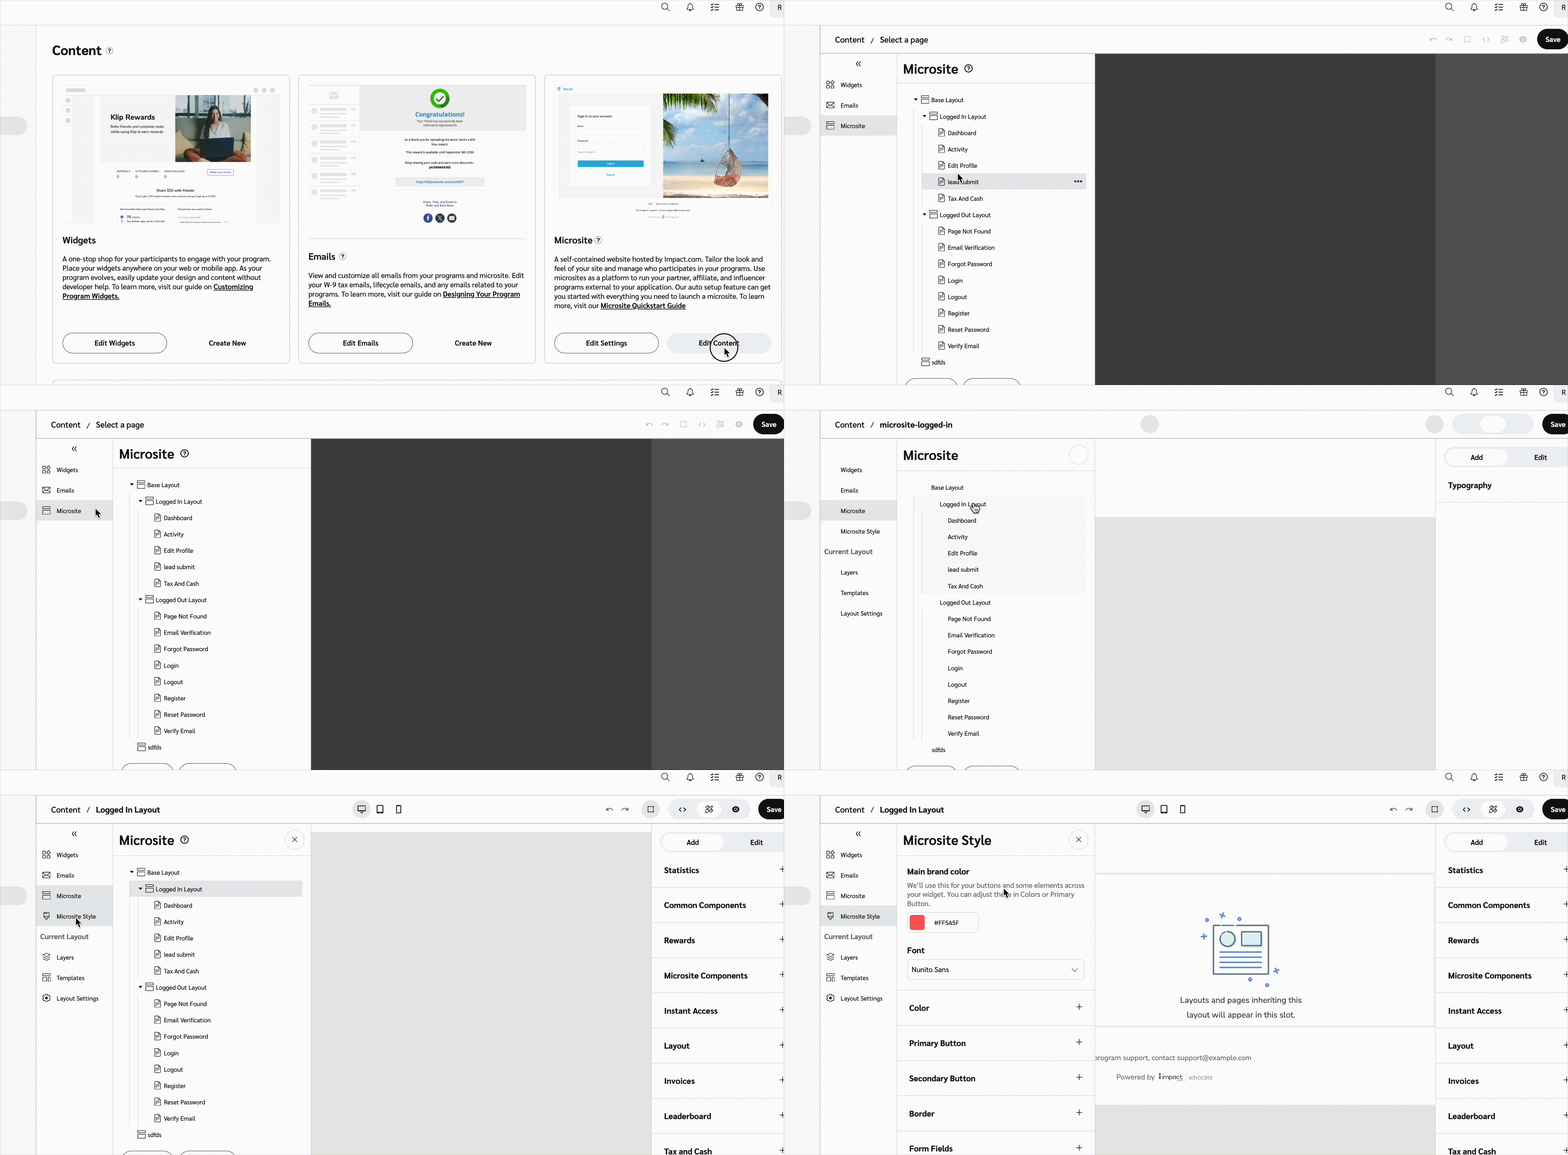
In the left navigation menu, select
[Engage] → Content.
For widgets, select Edit Widgets and for microsites, select Edit Content.
In the left menu, select whether you want to edit on the Microsite or the Widget.
Select the page template you want to make edits on, then select Widget style/Microsite style.
Select your brand color to change the main color present in your widget or microsite.
Next, select the font style you’d like to use.
[Optional] Continue through the remaining style options to fully customize your brand identity within the widget or microsite.
Style Element | Description |
|---|---|
Main brand color | This color will be used in different elements across your widget or microsite so it is important to complete this step. Select your main brand color. This color is also used in the Primary button and Secondary button sections further down in the editing options. 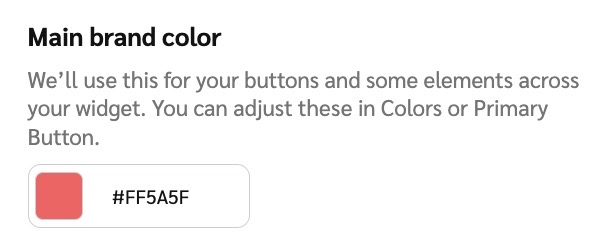 |
Font | Select the font style you’d like present within your widget or microsite.  |
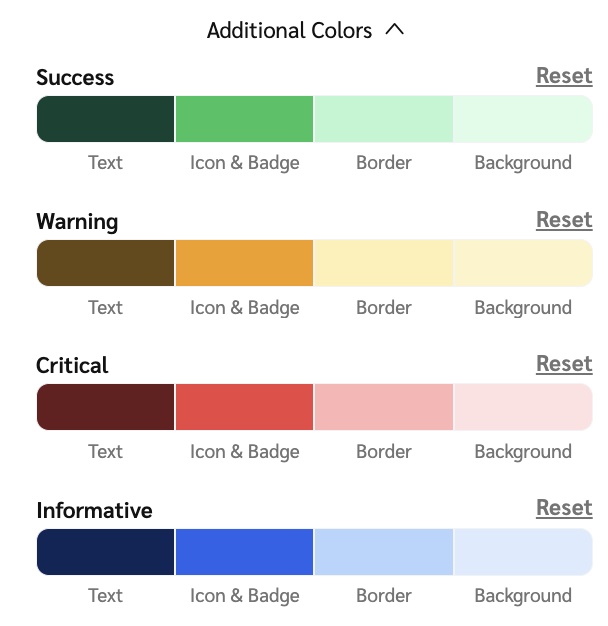
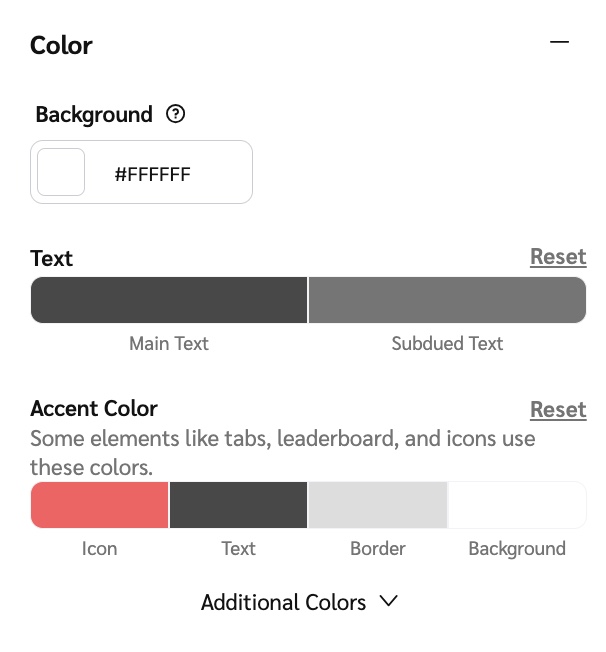
Color | Select the various colors and accents you’d like present within your widget or microsite:
|
Primary Button | Select the color scheme you’d like your primary or main button to be. You can also adjust the pixel amount for the border radius around the button. 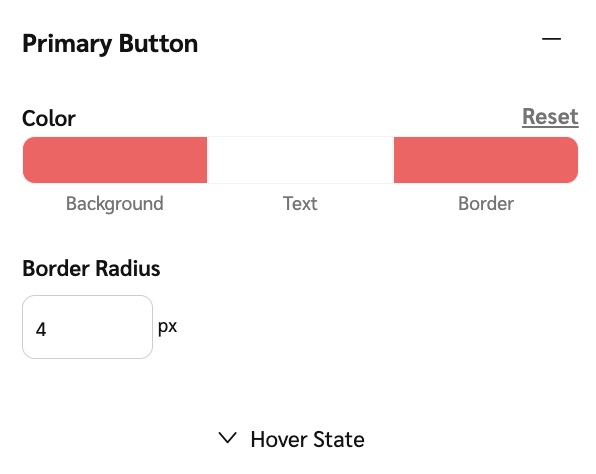 Expand the 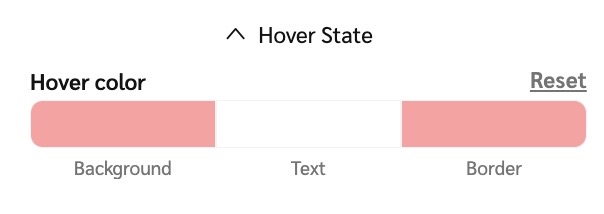 |
Secondary Button | Select the color scheme you’d like your secondary button to be. You can also adjust the pixel amount for the border radius around the button. 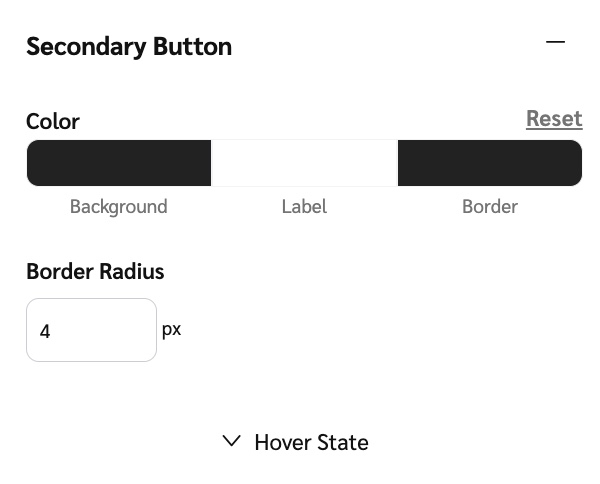 Expand the 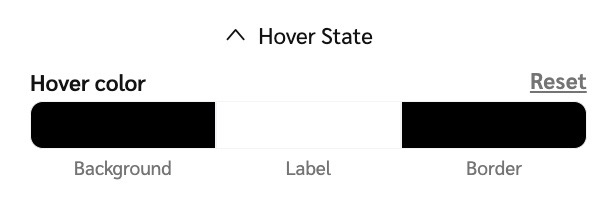 |
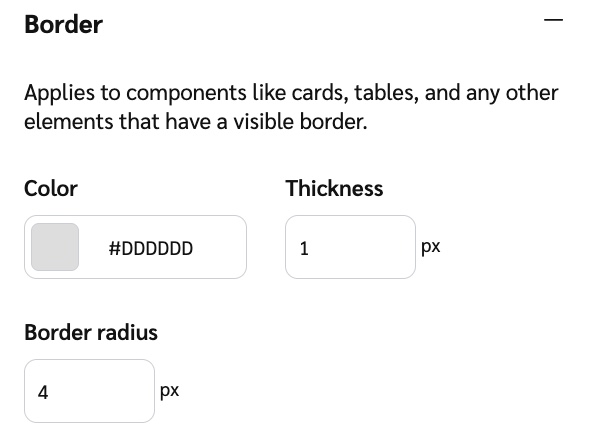
Border | Change the color and border outline of your components, like tables or cards, within your widget or microsite.
|
Form Fields | Select the color you’d like for the various form fields within your widget or microsite. These include any input fields the user completes. You can also input a unit in pixels to change the size of the border radius. 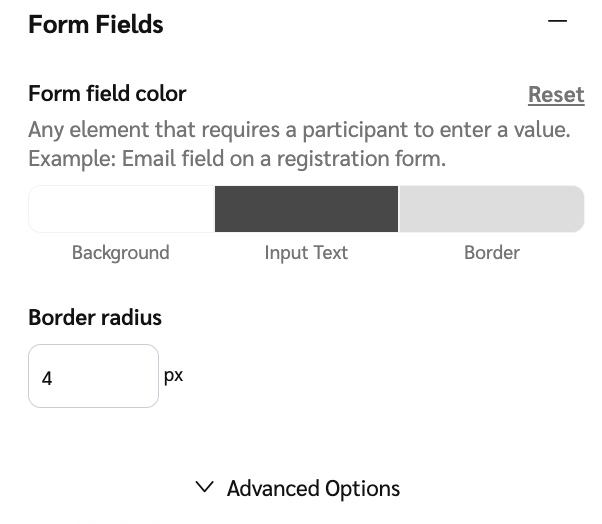 Expand the 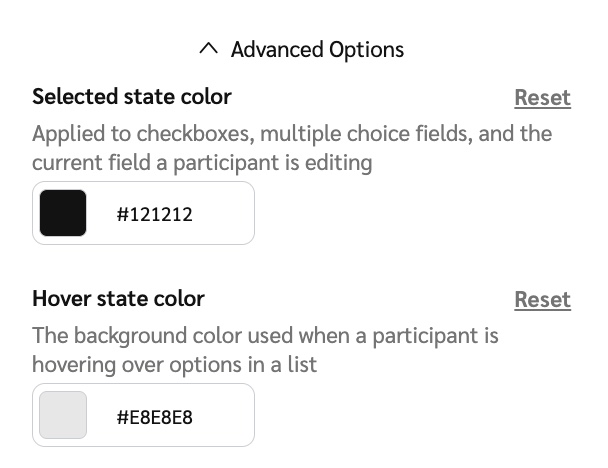 |
Widget Size | Change the size of your widgets within the template. You can adjust the dimensions for both embedded and popup widgets. Select a min and max size and from the drop options select the measure of units. Choose to set the measurements by pixel or by percentage. 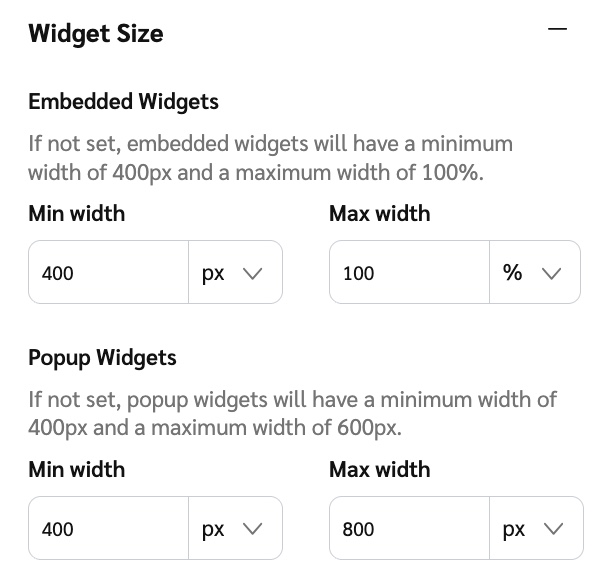 |
![[Drop-down menu]](https://paligoapp-cdn-eu1.s3.eu-west-1.amazonaws.com/impact/attachments/f01cdffa431a4d75ff09c130b66974d4-d6b35853a9aa1f1fe6bd66da29bd09fa.svg)
