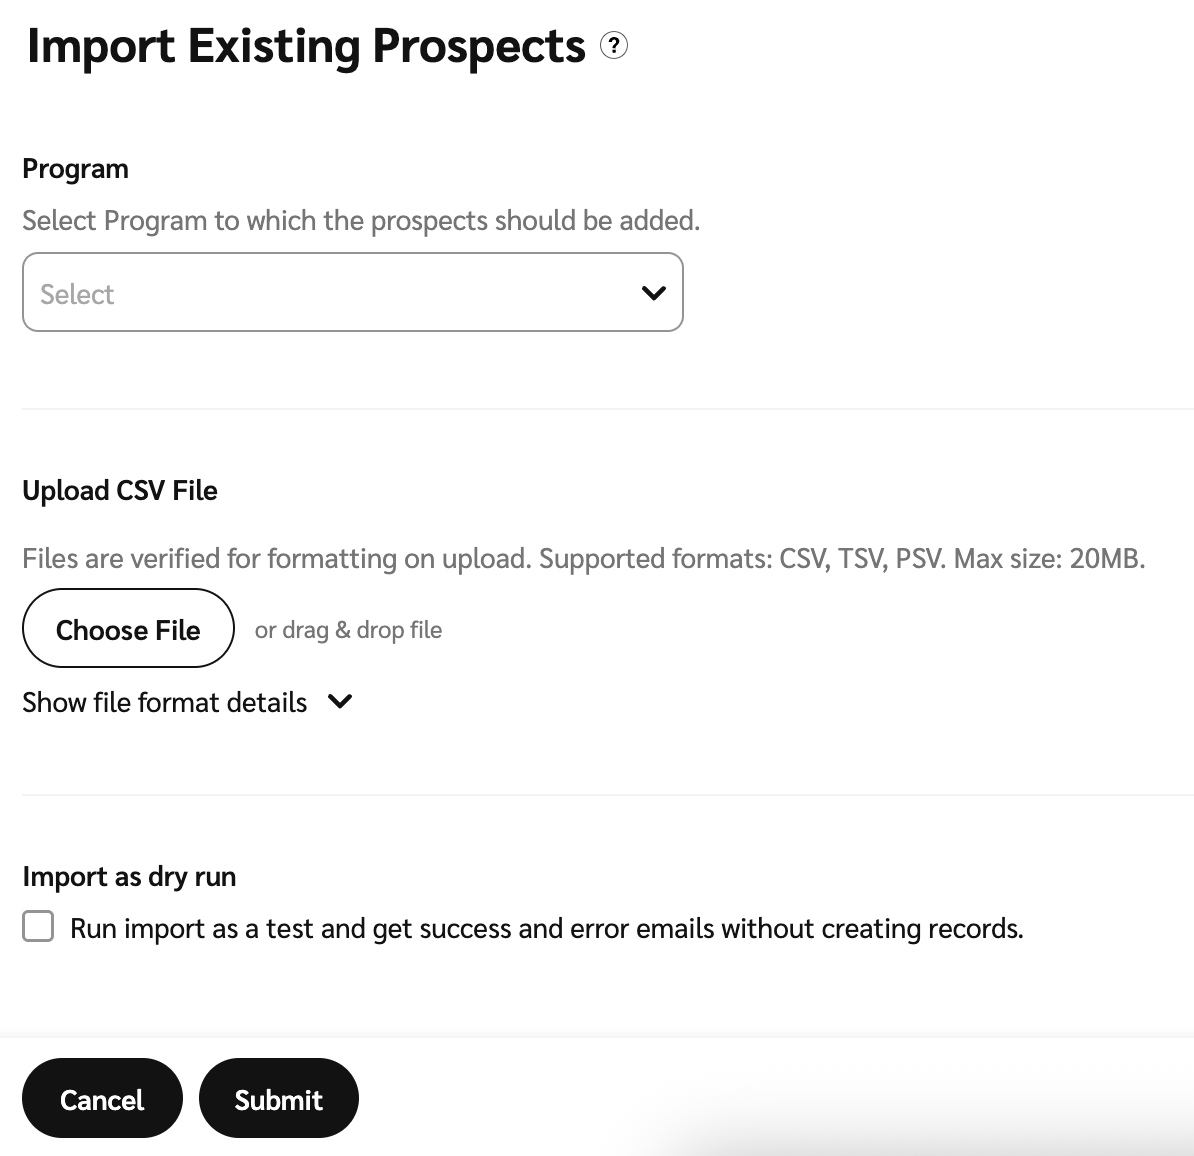
Follow these steps to bulk import prospects to your specific program via CSV, saving you the time and effort of adding them manually. You can also test your file before finalizing your import to help prevent errors. See Prospect Import FAQ for more information.
Warning: You cannot create a group when importing prospects. Make sure you've already created any groups you need before importing your prospects list.
From the top navigation bar, select
[User profile] → Settings.
On the left, under the Tools section, select Import Prospects.
Select
[Drop-down menu] and choose the program to which you want your prospects to be added.
Select Choose File to upload your CSV file.
Select Show file format details
[Drop-down menu] to learn more about how to set up your CSV file. You can also select Copy Columns to Clipboard and paste them in your spreadsheet application. See the Import prospects template below to see what data your CSV file should contain.
Optionally, you can test your import file before creating any records by selecting
[Unchecked box] under Import as dry run.
Then select Submit.
Thereafter, you will receive an email detailing any successes and errors in your file.

To view and contact your imported prospects, do the following:
From the left navigation menu, select
[Discover] → Prospects.
From the filters at the top of the screen, select the Source filter and select Prospect Import
[Unchecked box].
Optionally, if you have imported your prospects with a group, select the Group filter and select the group you want to see.
To contact your prospects, use the Automate prospect invites workflow. Learn more about setting up a workflow.