> For the complete documentation index, see [llms.txt](https://help.impact.com/llms.txt). Markdown versions of documentation pages are available by appending `.md` to page URLs; this page is available as [Markdown](https://help.impact.com/brand/zh/what-would-you-like-to-learn-about/advocate-program/manage-advocate-participant-experiences/widget-experiences/customize-program-widgets.md).
# 自定义项目组件
## 访问小组件编辑器
1. 从左侧导航菜单中,选择  **\[Engage] → 内容**.
2. 在 *小组件* 卡片中,选择 **编辑小组件。**
3. 从左侧滑出菜单中,选择你要编辑的小组件名称。
## 自定义你的小组件
{% stepper %}
{% step %}
### **第 1 步:选择模板**
1. 从左侧滑出菜单中,在 *当前小组件*下方,选择 **模板**.
2. 选择 **应用模板** ,作为起始模板。
{% hint style="success" %}
**注意:** 如果你想在不提交更改的情况下预览模板的外观,请在保存前选择  **\[预览]** 。只有在你准备好提交所做更改时,才选择 **保存** 按钮。
{% endhint %}
{% endstep %}
{% step %}
### **第 2 步:调整小组件内容**
你可以添加、编辑、移动或移除组件,以修改你的客户倡导者在小组件中看到的内容。
{% hint style="success" %}
**注意:** 有关小组件编辑器各个元素的说明,请参阅小组件编辑器概览。
{% endhint %}
{% tabs %}
{% tab title="添加" %}
1. 在页面右侧的 *组件* 菜单的 **添加** 选项卡中,选择一个组件组。
* 了解更多关于可用组件及其分组方式的信息。
2. 选择合适的组件。
3. 选择蓝色的 **添加到** 按钮,将组件放置到画布上你想要的位置。
{% endtab %}
{% tab title="编辑" %}
你可以编辑的属性取决于你选择的组件类型。例如,如果你选择 *英雄图片* 组件,你将能够选择新图片并更改背景颜色。如果你选择像标题这样的纯文本元素,则可以修改字体、文字颜色和文本内容。
1. 选择你要编辑的组件。
2. 使用 *组件* 菜单的 **编辑** 选项卡中的选项来更改其属性。
* 如果你想在文本组件中插入链接,可以通过编辑小组件的 HTML 来实现。
{% endtab %}
{% tab title="移动" %}
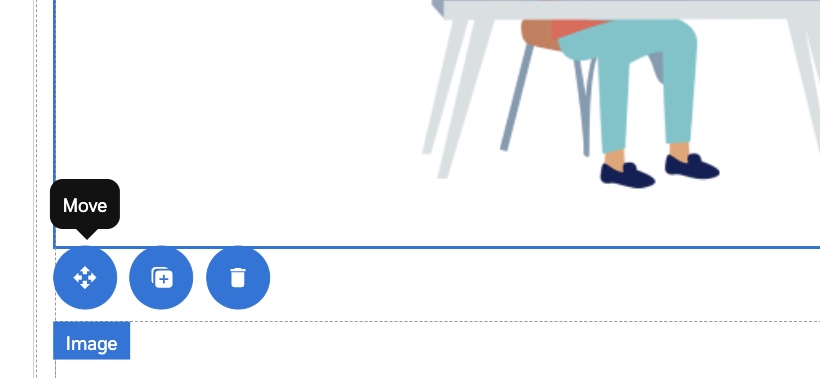
1. 在画布中,选择并按住你要移动的组件。
2. 将组件拖到画布上的新位置,然后松开以放置到位。
* 某些组件无法移动。如果组件不可拖动,当你尝试重新定位时,它不会移动。
{% endtab %}
{% tab title="移除" %}
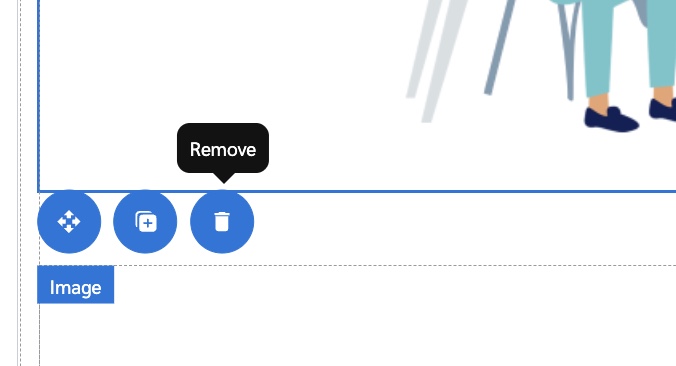
1. 在画布上选择你要移除的组件。
2. 选择  **\[移除]**.
{% endtab %}
{% endtabs %}
{% endstep %}
{% step %}
### **第 3 步:自定义小组件外观和主题**
#### **添加图片或徽标**
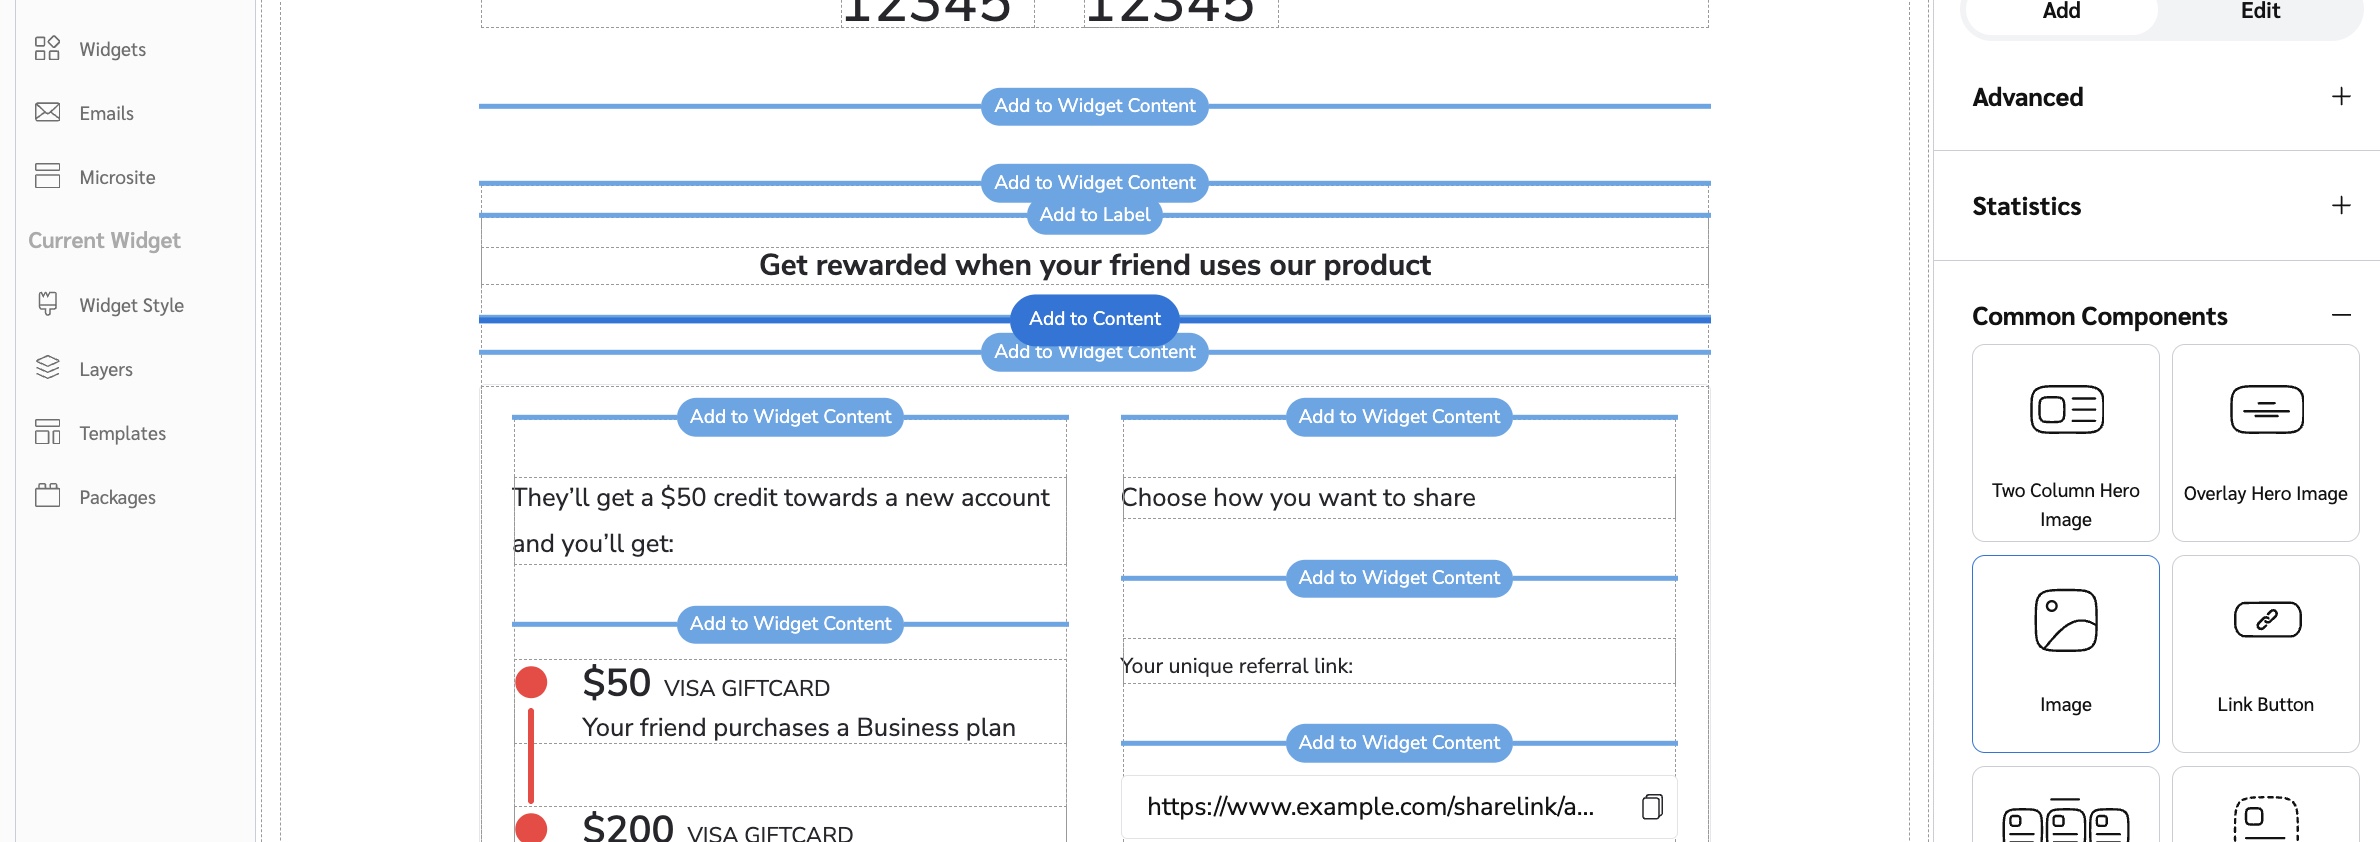
1. 在右侧,从 *组件* 菜单的 **添加** 选项卡中,选择 **常用组件** 类别。
2. 选择以下任一项:
* **叠加英雄图片** (带有可编辑叠加文字的图片)
* **图片** (不带文字的纯图片)
3. 将图片添加到画布中。
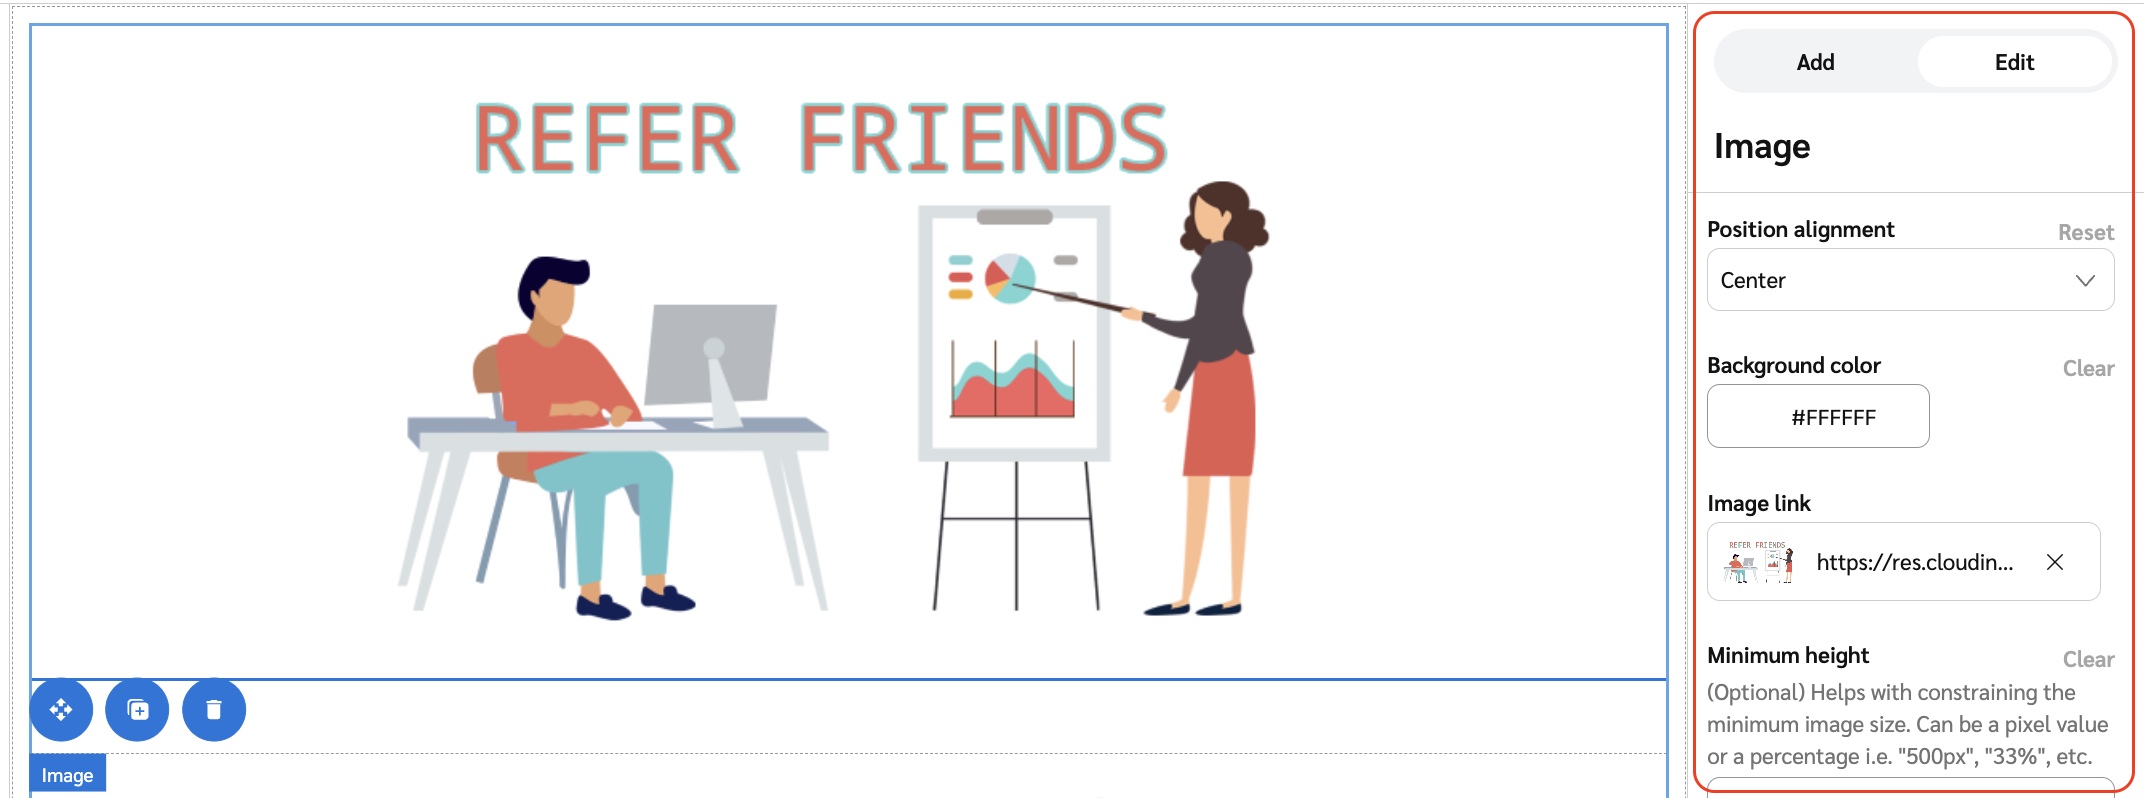
4. 从 *组件菜单的* **编辑** 选项卡中,选择 **选择文件** 按钮下方的 *图片* 标题。
#### **替换图片或徽标**
1. 在画布中,选择你想要更改的照片。
2. 在 **编辑** 菜单中,选择  **\[移除]** 然后选择 **选择文件** 以重新上传新图片。
3. 使用以下方法之一上传图片:
* 将图片拖放到此处
* 在你的电脑上浏览文件
* 在 *网页地址* 选项卡,粘贴该文件的公共 URL
4. 选择 **完成**.
#### **调整显示哪些分享按钮**
你可以使用 **编辑** 菜单编辑现有的分享按钮。
1. 在画布上选择你要编辑的分享按钮。
2. 在 **编辑** 选项卡中,选择“ *分享媒介* 标题。
通过使用 **添加** 菜单编辑现有的分享按钮。
1. 从 **添加** 选项卡,选择 **分享**.
2. 选择合适的卡片。
3. 选择蓝色的 **添加到** 按钮,将组件放置到画布上。
{% endstep %}
{% step %}
### **第 4 步:预览并保存**
1. 通过选择  **\[预览]** 从顶部菜单栏预览小组件在参与者端的显示效果。
* 你可以在以下体验预览之间切换:  **\[桌面]**,  **\[平板]**,或  **\[移动端]** 用户的预览,只需选择相应的设备图标。
2. 要返回编辑界面,请选择  **\[编辑]** 从顶部菜单栏预览小组件在参与者端的显示效果。
3. **保存** 你的更改。
{% hint style="warning" %}
**警告:** 小组件编辑器不会自动保存你的更改。请经常点击 **保存** ,以确保你不会丢失工作内容。
{% endhint %}
当你选择 **保存**时,这些更改将添加到你的项目草稿中。
{% endstep %}
{% endstepper %}
## 高级自定义选项
高级组件允许你包含基于参与者 *电子邮件*, *分群*,或 *自定义字段*的条件内容。例如,如果你想只向黄金级订阅者显示排行榜, **按分群条件部分** 组件可以让你做到这一点。
你可以从 **添加** 选项卡中添加高级组件。设置它们需要多做一点工作,因为你需要在 [JSONata 表达式](http://docs.jsonata.org/overview.html) 中输入一个 *条件* 框,用于定义满足条件时的逻辑。如果你需要帮助,请联系我们的 [支持团队](mailto:saasquatch-support@impact.com) 。
## 了解更多
* [为 Advocate 编辑你的小组件或微型站点 HTML](#access-the-widget-editor-0-0)
* [为 Advocate 安装自定义 NPM 包](/brand/zh/what-would-you-like-to-learn-about/advocate-program/manage-advocate-participant-experiences/install-custom-npm-packages-for-advocate.md)
---
# Agent Instructions
This documentation is published with GitBook. GitBook is the documentation platform designed so that both humans and AI agents can read, navigate, and reason over technical content effectively. Learn more at gitbook.com.
## Querying This Documentation
If you need additional information that is not directly available in this page, you can query the documentation by asking a question.
Perform an HTTP GET request on the following URL with the `ask` and `goal` query parameters:
```
GET https://help.impact.com/brand/zh/what-would-you-like-to-learn-about/advocate-program/manage-advocate-participant-experiences/widget-experiences/customize-program-widgets.md?ask=&goal=
```
`ask` is the immediate question: it should be specific, self-contained, and written in natural language.
`goal` is what the user is ultimately trying to achieve, the reason they need the answer. Sharing it helps GitBook give you a better, more relevant answer. A goal is most helpful when it describes the outcome the user wants rather than restating the question. For example, with `ask=how do I create an API token`, a goal like `automate deployments from our CI pipeline` lets GitBook tailor the answer to that use case.
The response will contain a direct answer to the question and relevant excerpts and sources from the documentation.
Use this mechanism when the answer is not explicitly present in the current page, you need clarification or additional context, or you want to retrieve related documentation sections.