> For the complete documentation index, see [llms.txt](https://help.impact.com/llms.txt). Markdown versions of documentation pages are available by appending `.md` to page URLs; this page is available as [Markdown](https://help.impact.com/brand/what-would-you-like-to-learn-about/advocate-program/advocate-rewards/pay-with-cash/set-up-cash-payouts-for-advocate.md).
# Set Up Cash Payouts for Advocate
Your widget or microsite can be set up to collect participants’ tax and banking details. After their information is on file, they are eligible to receive cash rewards (in alignment with your program goals). For more information about the feature and what's required from your brand and your participants, refer to [Cash Payouts for Advocate Explained](/brand/what-would-you-like-to-learn-about/advocate-program/advocate-rewards/pay-with-cash/cash-payouts-for-advocate-explained.md).
{% stepper %}
{% step %}
### Enable cash payouts
If your account is eligible for cash payouts, you can enable the option from your account settings.
1. From the top navigation bar, select  **\[User profile] → Settings**.
2. On the left, below *Advocate Settings*, select **General**.
3. In the *Tax Compliance* section, select **Enable Payouts & Tax Compliance**.
* If you're already using the W-9 Tax Compliance feature, you won't be able to turn on Cash Payouts and Tax Compliance within impact.com. Reach out to [support](mailto:saasquatch-support@impact.com) for help.
4. Confirm that you want to **Enable** this feature.
5. Continue with setting up the feature. You can either:
* Select **Fund Account** or **Edit Content** in the confirmation modal to be taken directly to the relevant pages.
* Close the confirmation modal and follow the steps in the setup checklist.
{% endstep %}
{% step %}
### Configure your reward units
Select which cash reward units you want to allow participants to be paid out for. If you don’t already have a cash reward unit, you’ll need to set one up.
{% tabs %}
{% tab title="New reward unit" %}
1. From the left navigation menu, select  **\[Engage] → Rewards → Reward Units**.
2. At the top-right of the page, select **Create Reward Unit**.
3. For the *Reward Unit Type*, select **Cash.**
4. Enter a descriptive **Reward Unit Name**.
5. Optionally, enter a **Reward Unit ID**.
6.  **\[Toggle on]** **Currency**.
{% hint style="success" %}
**Note:** You must select this option even if you only want to issue the payout in one currency.
{% endhint %}
7. From the dropdown list, select the [impact.com-supported currency](/other/reference-documentation/supported-currencies-and-timezones.md) or currencies in which you want to pay out the reward unit.
8. Select  **\[Checked box] Use impact.com to send a payment to your participants**.
9. Select **Create Reward Unit**.
{% endtab %}
{% tab title="Existing reward unit" %}
1. From the left navigation menu, select  **\[Engage] → Rewards → Reward Units.**
2. Hover your cursor over a cash reward unit and select **Edit**.
3.  **\[Toggle on]** **Currency**.
{% hint style="success" %}
**Note:** You must select this option even if you only want to issue the payout in one currency.
{% endhint %}
4. From the dropdown list, select the [impact.com-supported currency](/other/reference-documentation/supported-currencies-and-timezones.md) or currencies in which you want to pay out the reward unit.
5. Select  **\[Checked box] Use impact.com to send a payment to your participants**.
6. Select **Update Reward Unit** to finalize your changes.
{% endtab %}
{% endtabs %}
You can now [create a program reward](/brand/what-would-you-like-to-learn-about/advocate-program/advocate-rewards/create-a-reward.md) based on this reward unit, and [configure your program goals](/brand/what-would-you-like-to-learn-about/advocate-program/getting-started-with-advocate/advocate-program-rules-explained.md) to specify when participants should earn that reward. We recommend applying a pending period to the goal's *action* to discourage self-referral attempts.
{% endstep %}
{% step %}
### Fund your account
You must have enough funds in your impact.com account to accommodate the cash payouts. If you don’t, your participants will not receive their earned rewards. Learn how to [deposit funds into your impact.com account](/brand/what-would-you-like-to-learn-about/platform-features/finance/add-funds-to-your-funding-account/deposit-funds-into-your-account.md).
{% endstep %}
{% step %}
### Configure your widget or microsite
Cash payouts can be set up in either your [verified access](/brand/what-would-you-like-to-learn-about/advocate-program/manage-advocate-participant-experiences/widget-experiences/widget-types-explained.md#verified-access-widgets-0-0) widget or your microsite.
Widget
You can either add the *Tax and Cash* components to your widget or apply the *Cash Payouts Referral Widget* template.
{% hint style="warning" %}
**Important:** Applying a template to an existing widget will remove all of your customizations, so we recommend using the template only on a new widget.
{% endhint %}
1. From the left navigation menu, select  **\[Engage] → Content**.
2. On the *Widgets* card, select **Edit Widgets**.
3. Select a *program widget* to edit.
4. From here, you can either add the *Tax and Cash* components or apply the *Cash Payouts Referral Widget* template.
* Learn how to add components or apply templates [with the widget editor](/brand/what-would-you-like-to-learn-about/advocate-program/manage-advocate-participant-experiences/widget-experiences/customize-program-widgets.md). For a description of the available Tax and Cash components, refer to [Widget & Microsite Components Explained](/brand/what-would-you-like-to-learn-about/advocate-program/manage-advocate-participant-experiences/widget-and-microsite-components-explained.md).
5. Optionally, customize the content and presentation of the components.
6. Select **Save draft** at the top-right corner of the page.
* Changes you've saved won't be shown to your participants until you [publish the program draft](/brand/what-would-you-like-to-learn-about/advocate-program/getting-started-with-advocate/create-and-publish-a-program-draft-for-advocate.md).
Microsite
### **New microsite**
If you don’t have a microsite yet, then you can use the auto setup option to create a pre-configured *Cash Payouts Microsite*. If you have a microsite, proceed to the *Existing microsite* section.
**Step 1: Set up the microsite**
1. From the left navigation menu, select ![\[Engage\] v2](https://paligoapp-cdn-eu1.s3.eu-west-1.amazonaws.com/impact/attachments/f01cdffa431a4d75ff09c130b66974d4-aa671735ec2b65af79961eaf59ab60af.svg) **\[Engage] → Content**.
2. On the *Microsite* card, select **Setup**.
* A new setup screen will open.
3. On the *Auto setup* card, select **Setup Referral Microsite**.
4. Select the **Cash Payouts Microsite** option, then select **Auto Setup**.
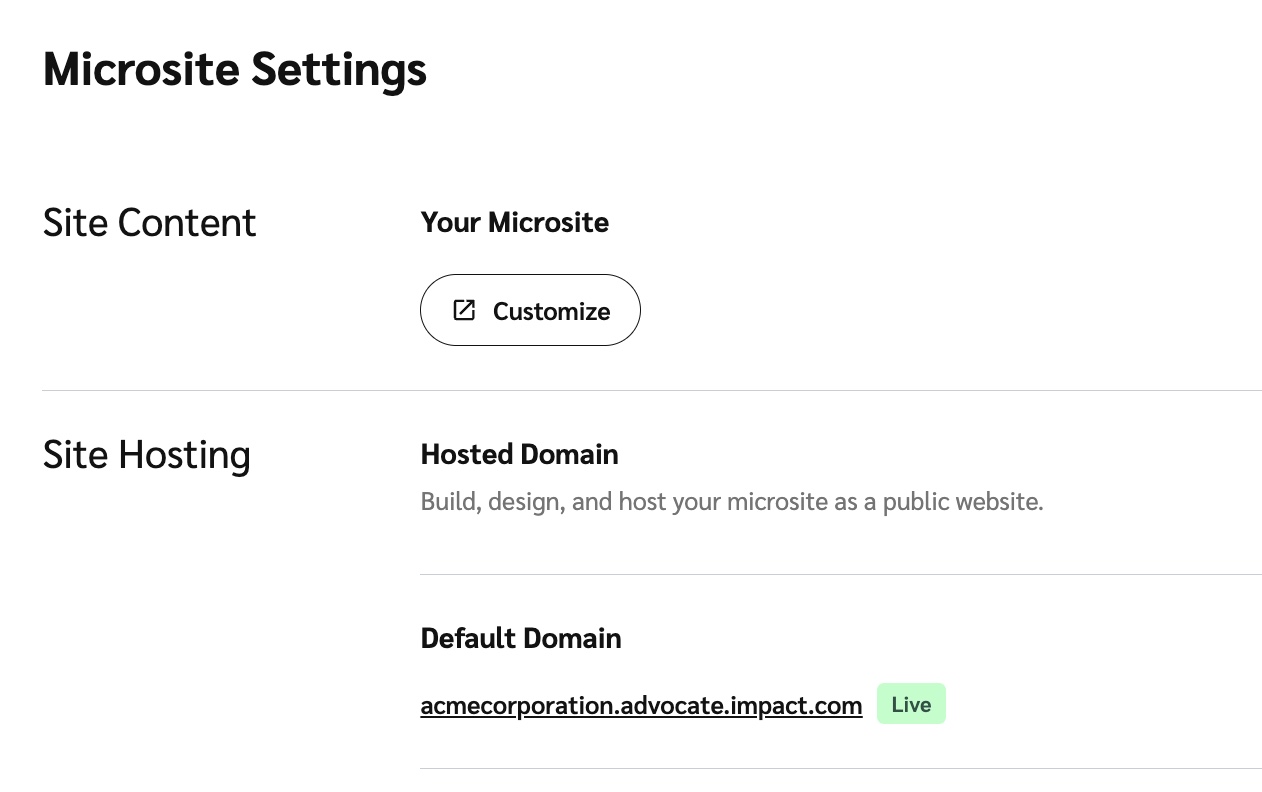
5. In the Site Content section, select Customize to further make changes to your microsite.
6. Your new microsite has a *Tax and Cash* page within the *Logged In Layout*, which your participants can use to provide their tax details and banking information.
* Learn more about the [microsite editor](/brand/what-would-you-like-to-learn-about/advocate-program/manage-advocate-participant-experiences/microsite-experiences/microsite-editor-explained.md) and how to [customize your microsite's layouts and pages](/brand/what-would-you-like-to-learn-about/advocate-program/manage-advocate-participant-experiences/microsite-experiences/customize-microsite-layouts-and-pages.md).
**Step 2: Optionally, customize the payout reminder email**
If a participant has earned a cash reward but hasn't provided us with their tax or banking details, impact.com sends them a reminder to provide this information so they can get their reward. You can modify the email to match your branding.
1. In the *Content* menu, select **Emails** to change to the email editor.
2. Select **tax-payout-reminder-email**.
3. Customize the sender information, subject line, or content as desired.
* Learn more about [editing your Advocate program emails](/brand/what-would-you-like-to-learn-about/advocate-program/manage-advocate-participant-experiences/email-experiences/create-and-customize-advocate-program-emails.md).
***
### **Existing microsite**
If you have an existing microsite, then you’ll need to add a Tax and Cash page to the Logged In Layout.
**Step 1: Add a new page**
1. From the left navigation menu, select ![\[Engage\] v2](https://paligoapp-cdn-eu1.s3.eu-west-1.amazonaws.com/impact/attachments/f01cdffa431a4d75ff09c130b66974d4-aa671735ec2b65af79961eaf59ab60af.svg) **\[Engage] → Content.**
2. On the *Microsite* card, select **Edit content**.
3. On the left, in the *Microsite* menu, select **+ Add Page**.
4. From the *Inherited Layout* dropdown list, select **Logged In Layout**.
5. Enter a **Page Title**, e.g., `Payout Settings`.
6. Enter the **URL** for your page. You’ll reference this URL when adding the page to your microsite’s sidebar navigation menu.
* Add a forward slash (`/`) before the name you want to use and use hyphens in the case of a multi-word URL, e.g., `/payout-settings`.
* For more instructions about adding a page to the sidebar navigation menu, refer to [Customize Microsite Layouts and Pages](/brand/what-would-you-like-to-learn-about/advocate-program/manage-advocate-participant-experiences/microsite-experiences/customize-microsite-layouts-and-pages.md).
7. From the *Allowed users* dropdown list, select **Verified**.
8. From the *Redirect for disallowed users* dropdown list, select the page where you want unauthorized users to be sent, e.g., your **Login** or **Register** page.
9. Select **Add**.
Your new page will now appear below *Logged In Layout* in the *Microsite* menu.
**Step 2: Apply the Tax and Cash Payouts template**
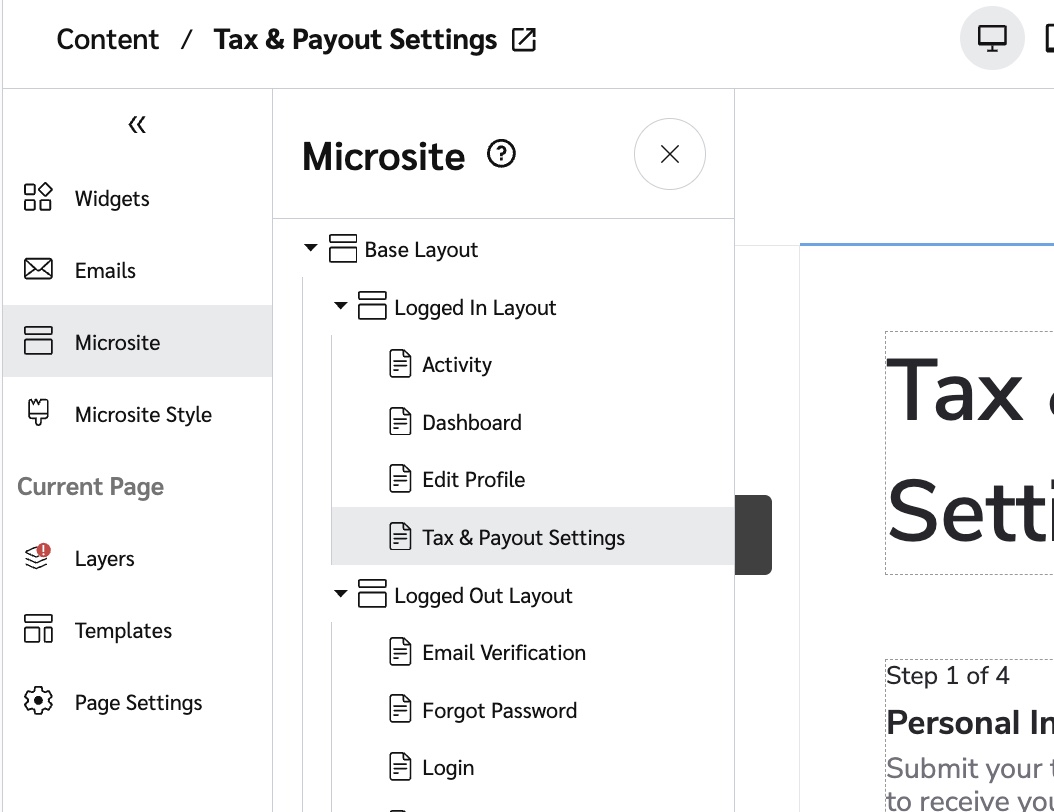
1. In the *Microsite menu*, select the new page you created in Step 1. It will load in the background.
2. In the *Microsite* menu, from the *Current Page* section, select **Templates**.
3. Find the *Tax and Cash Payout Template* card and select **Apply Template → Apply Template**.
4. At the top-right of the page, select **Save**.
**Step 3: Optionally, customize the payout reminder email**
If a participant has earned a cash reward but hasn't provided us with their tax or banking details, impact.com sends them a reminder to provide this information so they can get their reward. You can modify the email to match your branding.
1. In the *Content* menu, select **Emails** to change to the email editor.
2. Select **tax-payout-reminder-email**.
3. Customize the sender information, subject line, or content as desired.
* Learn more about [editing your Advocate program emails](/brand/what-would-you-like-to-learn-about/advocate-program/manage-advocate-participant-experiences/email-experiences/create-and-customize-advocate-program-emails.md).
{% endstep %}
{% endstepper %}
---
# Agent Instructions
This documentation is published with GitBook. GitBook is the documentation platform designed so that both humans and AI agents can read, navigate, and reason over technical content effectively. Learn more at gitbook.com.
## Querying This Documentation
If you need additional information that is not directly available in this page, you can query the documentation dynamically by asking a question.
Perform an HTTP GET request on the current page URL with the `ask` query parameter, and the optional `goal` query parameter:
```
GET https://help.impact.com/brand/what-would-you-like-to-learn-about/advocate-program/advocate-rewards/pay-with-cash/set-up-cash-payouts-for-advocate.md?ask=&goal=
```
`ask` is the immediate question: it should be specific, self-contained, and written in natural language.
`goal` is optional and describes the broader end goal you are ultimately trying to accomplish on behalf of the user. GitBook uses it to tailor the answer towards what is most useful for that goal.
The response will contain a direct answer to the question and relevant excerpts and sources from the documentation.
Use this mechanism when the answer is not explicitly present in the current page, you need clarification or additional context, or you want to retrieve related documentation sections.