> For the complete documentation index, see [llms.txt](https://help.impact.com/llms.txt). Markdown versions of documentation pages are available by appending `.md` to page URLs; this page is available as [Markdown](https://help.impact.com/brand/ja/what-would-you-like-to-learn-about/advocate-program/manage-advocate-participant-experiences/widget-experiences/customize-program-widgets.md).
# プログラムウィジェットをカスタマイズする
## ウィジェットエディターにアクセスする
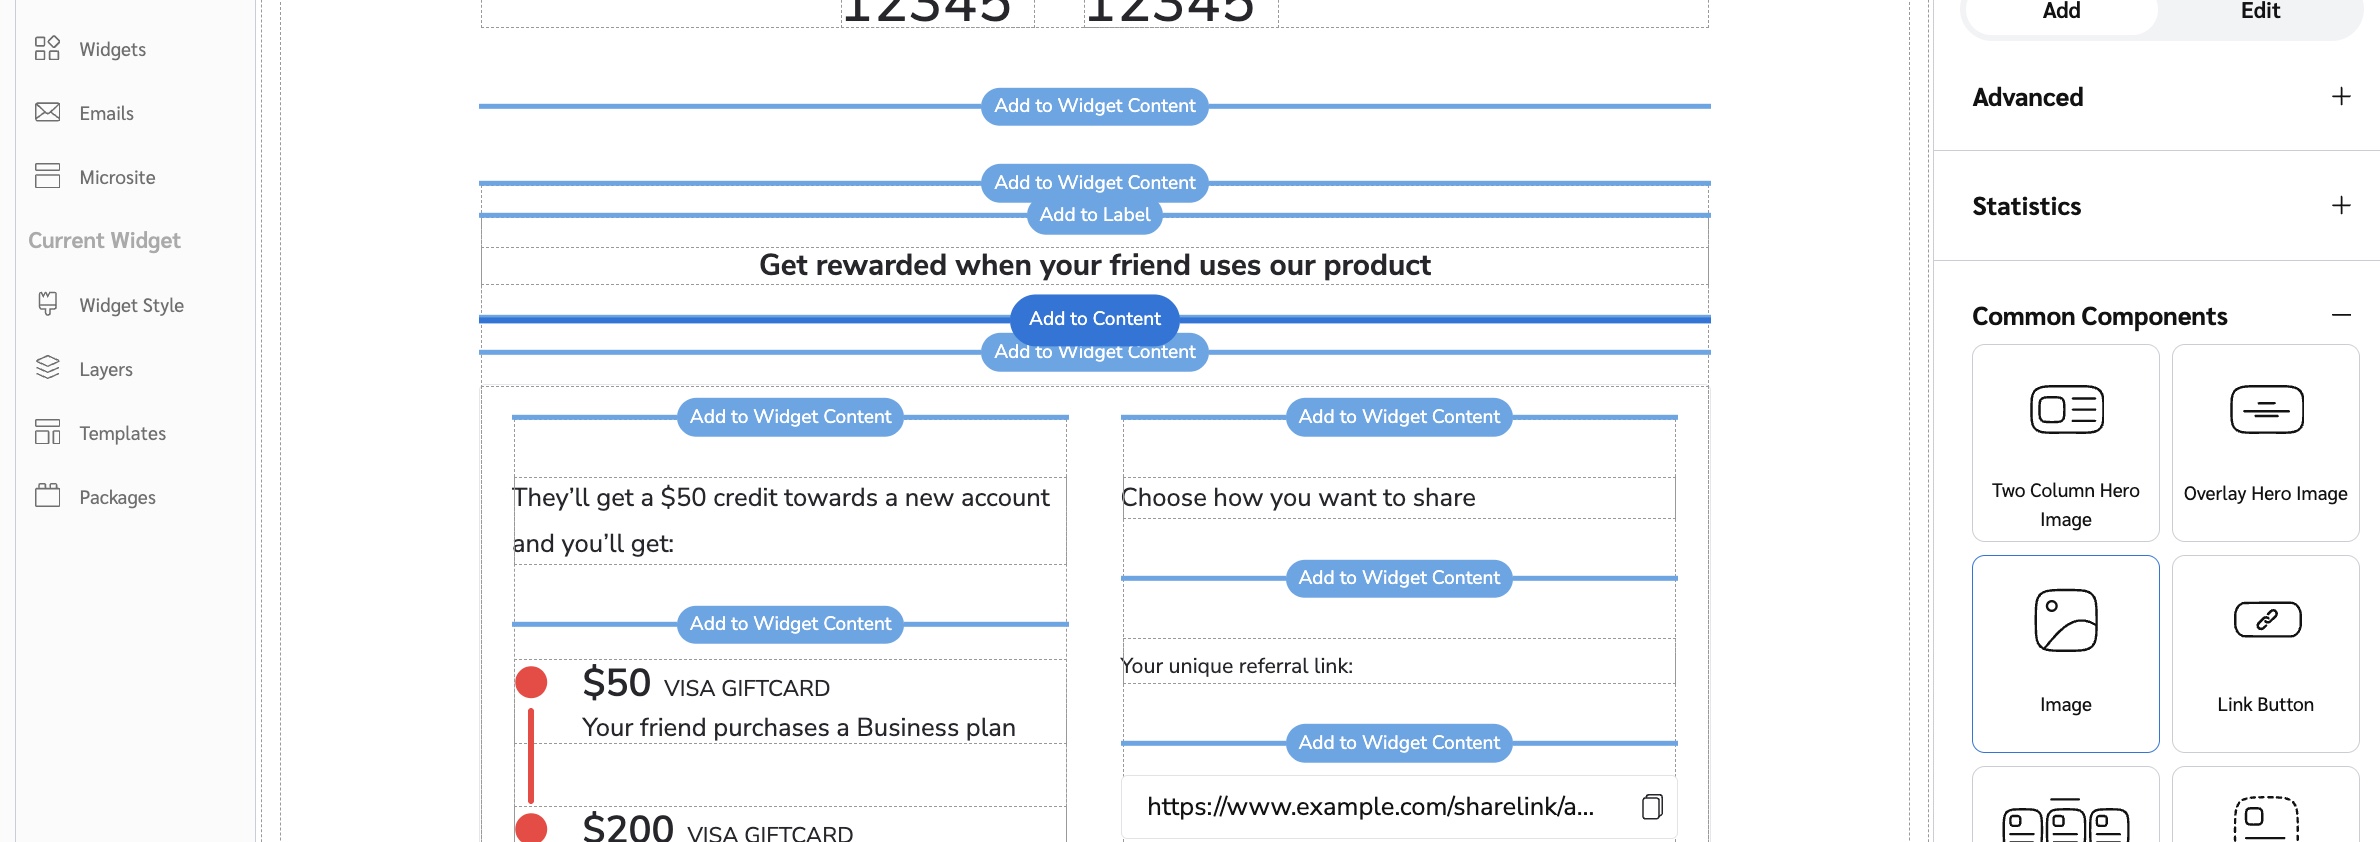
1. 左側のナビゲーションメニューから、  **\[Engage] → コンテンツ**.
2. の *ウィジェット* カードで、 **「ウィジェットを編集」を選択します。**
3. 左側のスライドアウトメニューで、編集したいウィジェットの名前を選択します。
## ウィジェットをカスタマイズする
{% stepper %}
{% step %}
### **ステップ1: テンプレートを選択する**
1. 左側のスライドアウトメニューで、 *現在のウィジェット*の下の **テンプレート**.
2. を選択 **テンプレートを適用** を、開始したいテンプレートの横で選択します。
{% hint style="success" %}
**注意:** 変更を確定せずにテンプレートの見た目をプレビューしたい場合は、  **\[Preview]** を選択してから保存してください。変更を確定する準備ができたら、 **保存** ボタンのみをクリックします。
{% endhint %}
{% endstep %}
{% step %}
### **ステップ2: ウィジェットのコンテンツを調整する**
コンポーネントを追加、編集、移動、削除して、ウィジェット内で顧客アドボケイトに表示されるコンテンツを変更できます。
{% hint style="success" %}
**注意:** ウィジェットエディターの各要素については、Widget Editor Overview を参照してください。
{% endhint %}
{% tabs %}
{% tab title="追加" %}
1. ページの右側にある *コンポーネント* メニューの **追加** タブで、コンポーネントグループを選択します。
* 利用可能なコンポーネントと、そのグループ分けについて詳しく知ることができます。
2. 適切なコンポーネントを選択します。
3. 青い **「追加先」** ボタンを、コンポーネントをキャンバス上に表示したい場所で選択します。
{% endtab %}
{% tab title="編集" %}
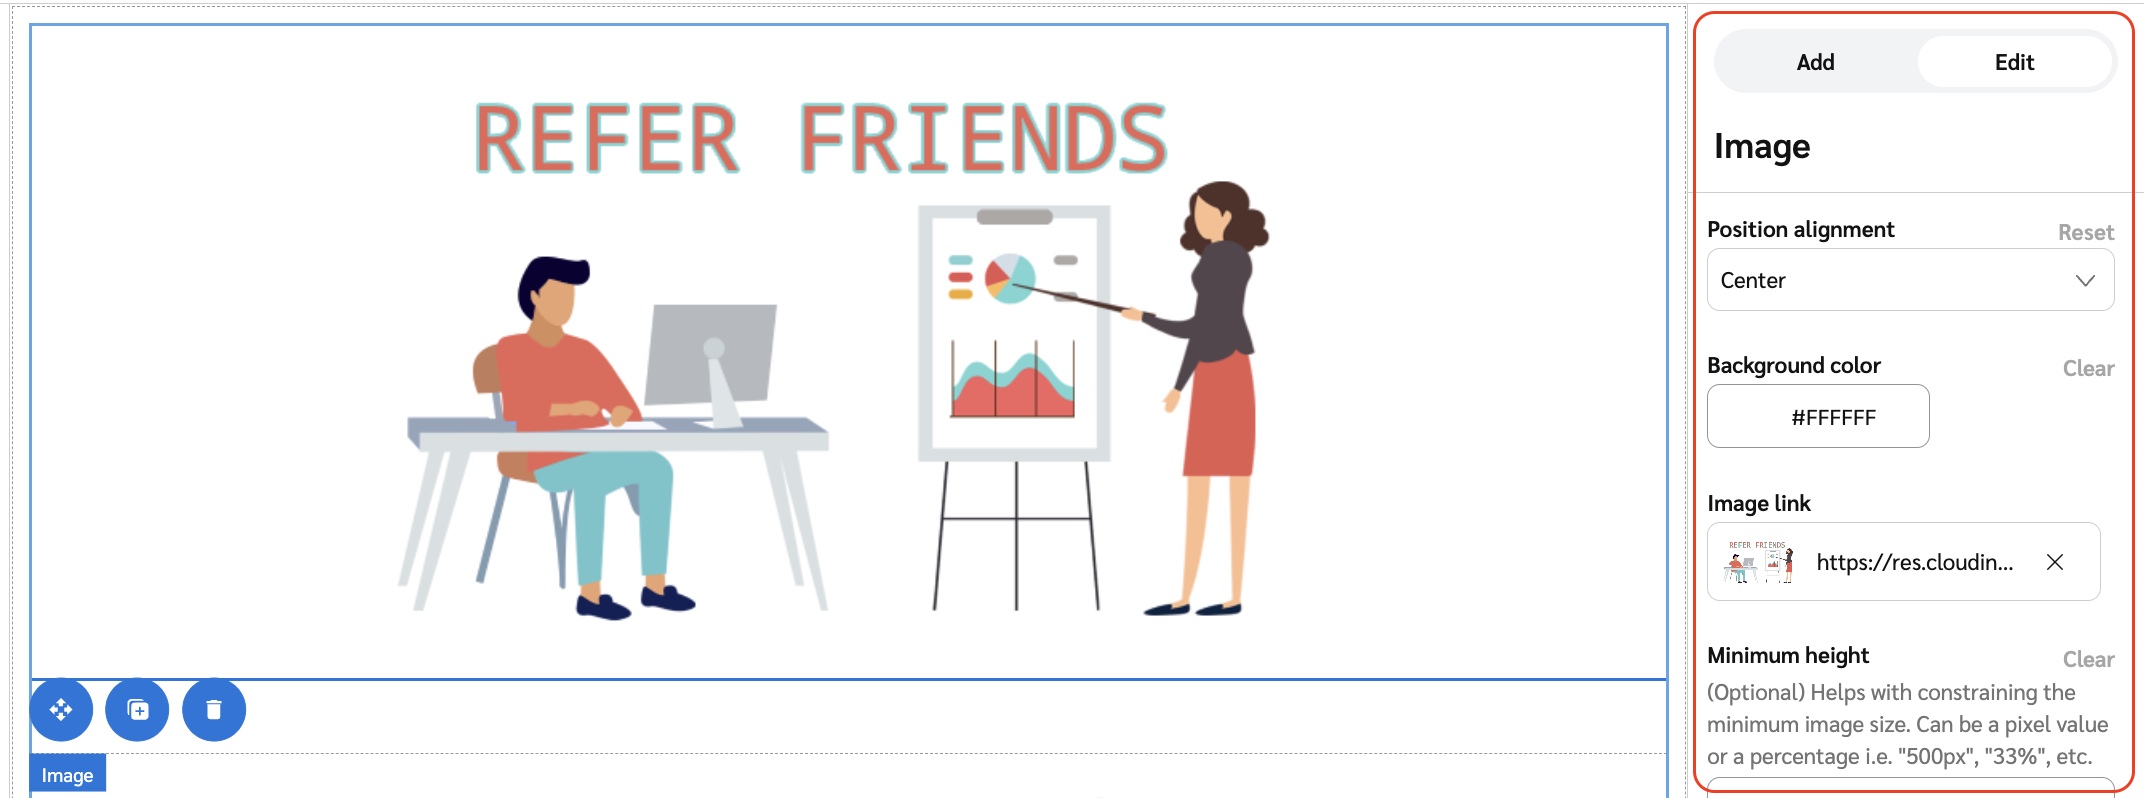
編集できるプロパティは、選択したコンポーネントの種類によって異なります。たとえば、 *ヒーロー画像* コンポーネントを選択すると、新しい画像を選択して背景色を変更できます。ヘッダーのようなテキストのみの要素を選択した場合は、フォント、テキストの色、テキスト内容を変更できます。
1. 編集したいコンポーネントを選択します。
2. のオプションを使用して *コンポーネント* メニューの **編集** タブで、プロパティを変更します。
* テキストコンポーネントにリンクを挿入したい場合は、ウィジェットのHTMLを編集することで可能です。
{% endtab %}
{% tab title="移動" %}
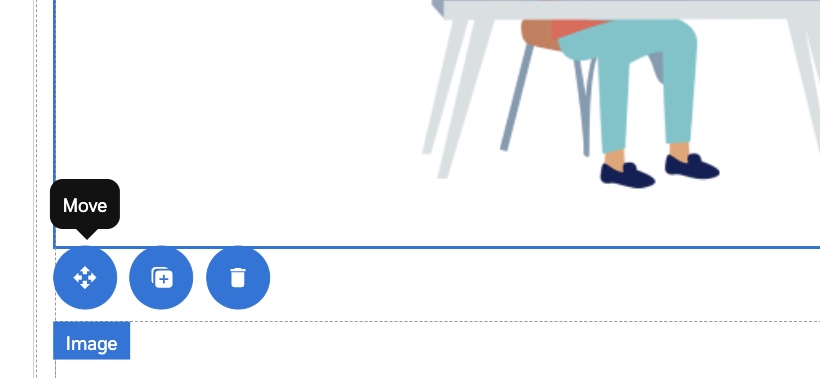
1. キャンバス内で、移動したいコンポーネントを選択して押さえます。
2. コンポーネントをキャンバス上の新しい位置までドラッグし、離してその場所に配置します。
* 一部のコンポーネントは移動できません。ドラッグできないコンポーネントは、位置を変更しようとしても移動しません。
{% endtab %}
{% tab title="削除" %}
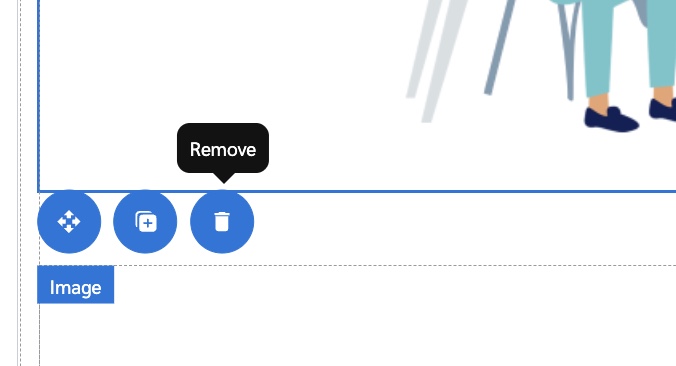
1. キャンバス上で削除したいコンポーネントを選択します。
2. を選択  **\[Remove]**.
{% endtab %}
{% endtabs %}
{% endstep %}
{% step %}
### **ステップ3: ウィジェットの外観とテーマをカスタマイズする**
#### **画像やロゴを追加する**
1. 右側の *コンポーネント* メニューの **追加** タブから、 **共通コンポーネント** カテゴリを選択します。
2. 次のいずれかを選択します:
* **オーバーレイ ヒーロー画像** (編集可能なテキストが重ねられた画像)
* **画像** (上にテキストがない通常の画像)
3. 画像をキャンバスに追加します。
4. から、 *コンポーネントメニューの* **編集** タブから、 **「ファイルを選択」** 下のボタンを *画像* 見出し。
#### **画像やロゴを置き換える**
1. キャンバス内で、変更したい写真を選択します。
2. の **編集** メニューで、  **\[Remove]** を選択してから **「ファイルを選択」** 新しい画像を再アップロードします。
3. 次のいずれかの方法で画像をアップロードします:
* 画像をドラッグ&ドロップする
* コンピューター上のファイルを参照する
* の *Web アドレス* タブで、ファイルの公開URLを貼り付けます
4. を選択 **完了**.
#### **表示する共有ボタンを調整する**
既存の共有ボタンは、 **編集** メニューを使って編集できます。
1. キャンバス上で、編集したい共有ボタンを選択します。
2. の **編集** タブで、サイトまたはサービス名を *共有媒体* 見出し。
新しい共有ボタンを追加するには、 **追加** メニューを使って編集できます。
1. から、 **追加** タブで、 **共有**.
2. 適切なカードを選択します。
3. 青い **「追加先」** ボタンを使ってコンポーネントをキャンバスに配置します。
{% endstep %}
{% step %}
### **ステップ4: プレビューして保存する**
1. 上部メニューバーから  **\[Preview]** を選択して、参加者に表示されるウィジェットの見た目をプレビューします。
* の体験のプレビューを切り替えて表示できます  **\[Desktop]**,  **\[Tablet]**、または  **\[Mobile]** 各デバイスのアイコンを選択して、ユーザー向けの表示を切り替えられます。
2. 編集画面に戻るには、  **\[Edit]** を選択して、参加者に表示されるウィジェットの見た目をプレビューします。
3. **保存** を選択します。
{% hint style="warning" %}
**警告:** ウィジェットエディターは変更を自動保存しません。 **保存** 「保存」を頻繁にクリックして、作業内容が失われないようにしてください。
{% endhint %}
「保存」を選択すると **保存**、変更はプログラムの下書きに追加されます。
{% endstep %}
{% endstepper %}
## 高度なカスタマイズオプション
高度なコンポーネントを使うと、参加者の *メールアドレス*, *セグメント*、または *カスタムフィールド*に基づいた条件付きコンテンツを含めることができます。たとえば、ゴールドレベルの購読者にのみリーダーボードを表示したい場合、 **セグメントの条件付きセクション** コンポーネントを使えば実現できます。
高度なコンポーネントは **追加** タブから追加できます。設定には、 [JSONata式](http://docs.jsonata.org/overview.html) を *条件* ボックスに入力して、条件が満たされるときのロジックを定義する必要があります。必要であれば [サポートチーム](mailto:saasquatch-support@impact.com) にお問い合わせください。
## 詳細はこちら
* [Advocate 用にウィジェットまたはマイクロサイトの HTML を編集する](#access-the-widget-editor-0-0)
* [Advocate 用のカスタム NPM パッケージをインストールする](/brand/ja/what-would-you-like-to-learn-about/advocate-program/manage-advocate-participant-experiences/install-custom-npm-packages-for-advocate.md)
---
# Agent Instructions
This documentation is published with GitBook. GitBook is the documentation platform designed so that both humans and AI agents can read, navigate, and reason over technical content effectively. Learn more at gitbook.com.
## Querying This Documentation
If you need additional information that is not directly available in this page, you can query the documentation by asking a question.
Perform an HTTP GET request on the following URL with the `ask` and `goal` query parameters:
```
GET https://help.impact.com/brand/ja/what-would-you-like-to-learn-about/advocate-program/manage-advocate-participant-experiences/widget-experiences/customize-program-widgets.md?ask=&goal=
```
`ask` is the immediate question: it should be specific, self-contained, and written in natural language.
`goal` is what the user is ultimately trying to achieve, the reason they need the answer. Sharing it helps GitBook give you a better, more relevant answer. A goal is most helpful when it describes the outcome the user wants rather than restating the question. For example, with `ask=how do I create an API token`, a goal like `automate deployments from our CI pipeline` lets GitBook tailor the answer to that use case.
The response will contain a direct answer to the question and relevant excerpts and sources from the documentation.
Use this mechanism when the answer is not explicitly present in the current page, you need clarification or additional context, or you want to retrieve related documentation sections.